Showing posts with label Patchwork Kingdom. Show all posts

Sunday, 4 April 2010

Easter Bunny

I decided I needed a short break from indulging in way too many chocolate easter eggs and thought I'd just share another card with you all...

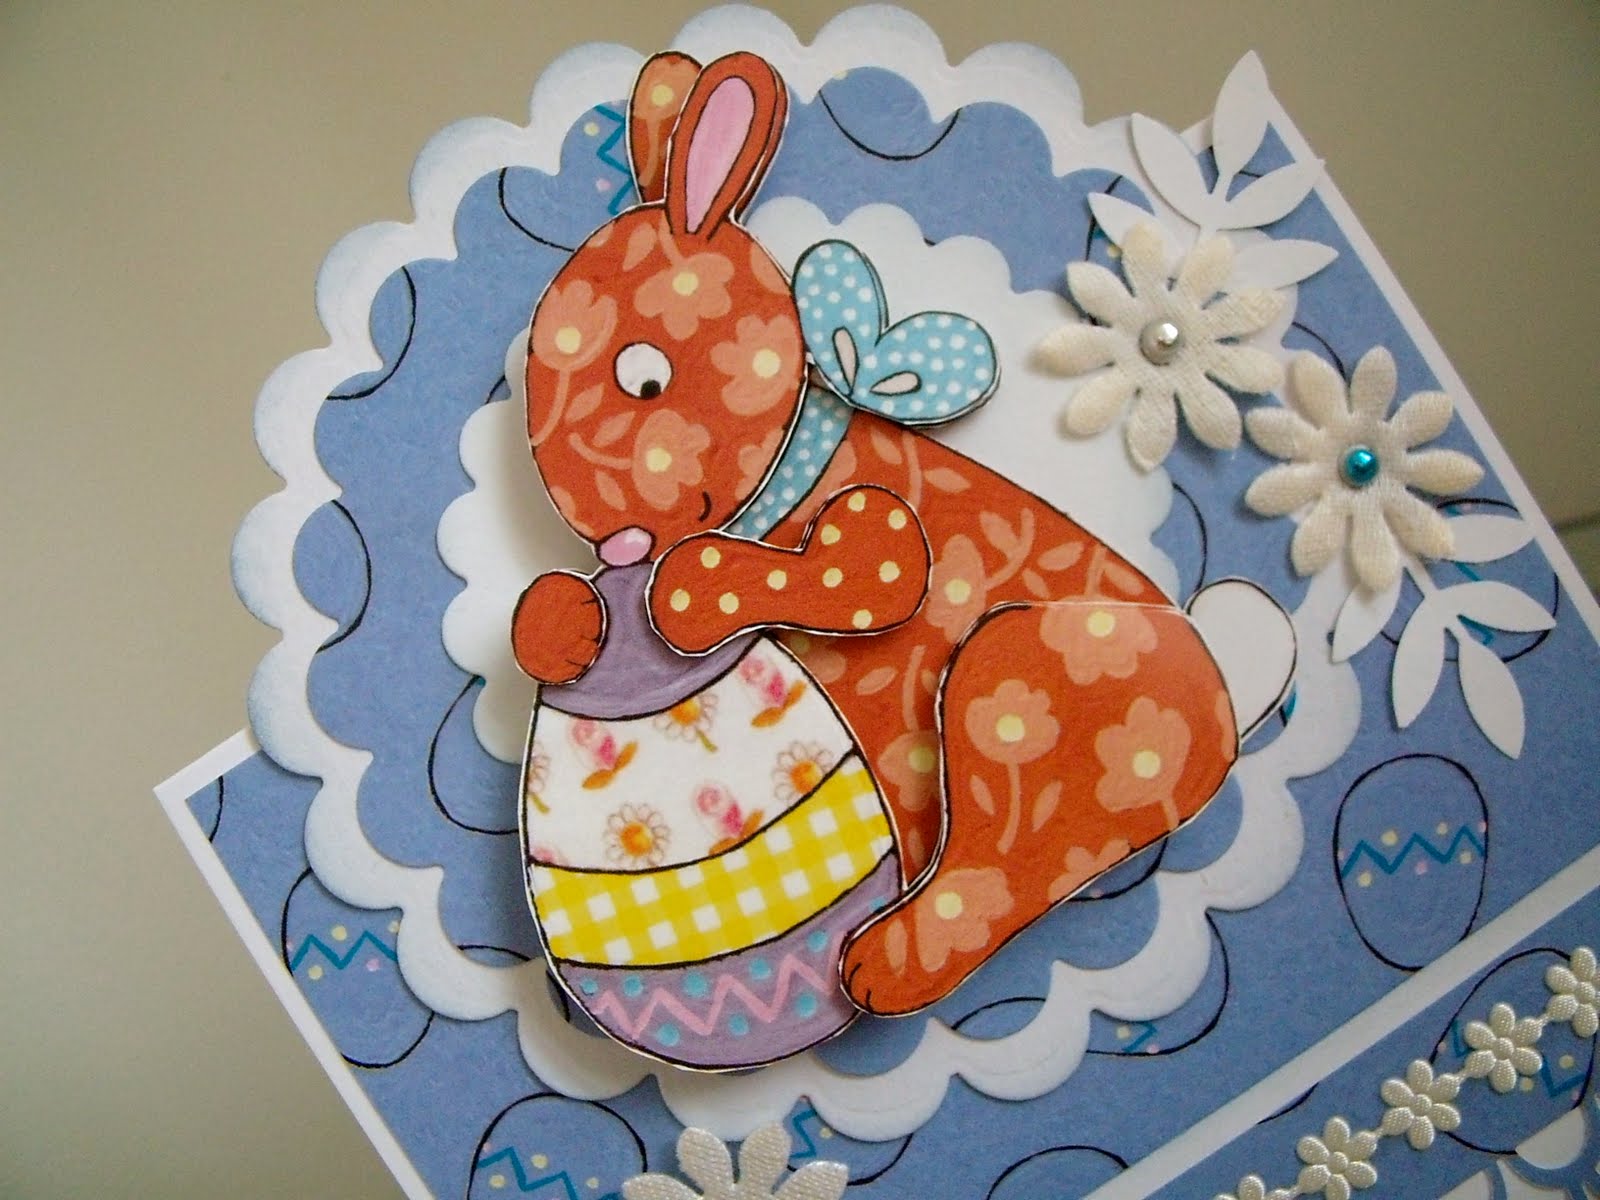
This card uses some more of the wonderful Patchwork Kingdom decoupage, which I cut out by hand and layered up with 3D foam pads, and backing papers from The Crafthouse Press. I used these in conjunction with Spellbinders large scalloped circle dies, some Martha Stewart punches, a beautiful flower ribbon and some fabric flowers, which I popped some adhesive gems into their centres. As the final touch, I handstamped a greeting and thought it made the perfect card for Easter.

Once again, I wish you all a great easter and lots of Cadbury's Mini Eggs....

There's always time for the gym ~ next week!!!

Saturday, 13 March 2010

To all the Mums out there ~ You Are The Best!

This Sunday, we celebrate Mother's Day in the UK and even though the card that I've made my Mum is "under wraps" and can't be seen until she receives it tomorrow, as soon as I saw these new Patchwork Kingdom images from The Crafthouse Press, I just knew that they would make the most perfect Mother's Day card for all those special Mums out there.

So, this one is for all of you ~ Happy Mother's Day!!

I personally think that decoupage lends itself perfectly to the easel card format...as with any easel, it becomes a display for your piece of artwork. Once I built up the layers of the image, using the 3D foam, I then got down to constructing the rest of the card. On this particular card, I used a corner punch to give me rounded edges and then I used the backing papers that co-ordinated with the decoupage and adhered these to the easel card blank. Through the Cuttlebug, I embossed a piece of white card and then layered this on the front of the card blank before adhering the image on the card. A small tag, with some organza ribbon tied through becomes the fixture for your stand and as the finishing touches, I added some jewels in the flowers and a greeting tag, which I stamped by hand using Paula Pascual's wonderful new stamp range by Personal Impressions.

Friday, 19 February 2010

A bear hug for you...

This card features the latest releases from the Patchwork Kingdom range by The Crafthouse Press and they are just so cute and so much fun to work with. The main image is decoupaged using 3D foam but  you could also use silcone glue if you wanted and find it easier to use. I just like working with the foam as you don't have to wait for the glue to dry before making your design up. Once that is done, I've then layered the bears onto matching backing papers but slightly overlaid the white card matt, so that it gave some more height to the card. 

One of the final touches to this card is something you might have already noticed and that is, the cute little matching button badge. When I was a little girl, I always remember being so excited when I received a card with a badge on it and would proudly wear my badge all day long, it was always an extra little surprise and keepsake and probably somewhere, I've still got some of those badges. For my card, I diecut a small scalloped circle of the matching backing paper and then used a small piece of foam to attach the badge onto the card. I finished the whole thing off with a small white satin ribbon and a greetings plaque.

Friday, 11 December 2009

White as snow...

I've recently become a part of the design team for a wonderful company, called The Crafthouse Press. And seeing as Christmas is fast approaching, these cards have been made using their fantastic "Patchwork Kingdom, Christmas Collection" decoupage and backing papers and were an absolute joy to work with.


The main images and focal points on both cards are these gorgeous polar bears, having fun in the winter snow. Each polar bear has been decoupaged using either foam pads or silicone glue, then matted and layered onto co-ordinating cardstock, papers and mirri card. On card 1, I've added finishing touches of iridescent snowflakes, grosgrain ribbon, a greetings plaque and glitter glue.

On card 2, I attached a small tag and bow and used a peel off sticker Christmas greeting. Glossy accents were added to give him a shiny nose and a hint of Stickles glitter glue along the bottom of his skates.

Card 1


Card 2


Powered By Blogger

Total Pageviews