
Hello everyone!
So another week has flown by and can you believe that tomorrow is the 1st of February?!? What happened to January? But as the light during the day gets longer, it means there is more crafting time which has been a bonus as I've been crafting for England, and now I can't wait to share everything I've made...all of which will be coming very soon, it's going to be exciting!!!
But before that, it's time for the brand new Simon Says Stamp Monday Challenge and this week our theme is USSE AN EMBOSSING FOLDER! I will admit that last week's Furry Friends challenge saw me step out of my comfort zone, I'm not a cute person but this week was perfect for me and with love in the air, I chose to create a tag that would be perfect for those men in our lives to show them how much they're loved! I actually made this tag at the beginning of last week and if you want to see more Valentine inspiration, then look no further than Tim's Valentine's YouTube live, as he created so many wonderful projects and it made my heart so happy to see what he made using this beautiful Heartfelt die.


To begin with I'll start with the base tag which is a Size 8 tag from Tim's Distress range. After misting the surface with a light spritz of water, I then sprayed the tag with Brushed Corduroy, Ground Espresso, Antique Linen and Speckled Egg Distress Spray Stains before adding Rusty Hinge, Salvaged Patina and Speckled Egg Oxide Sprays.
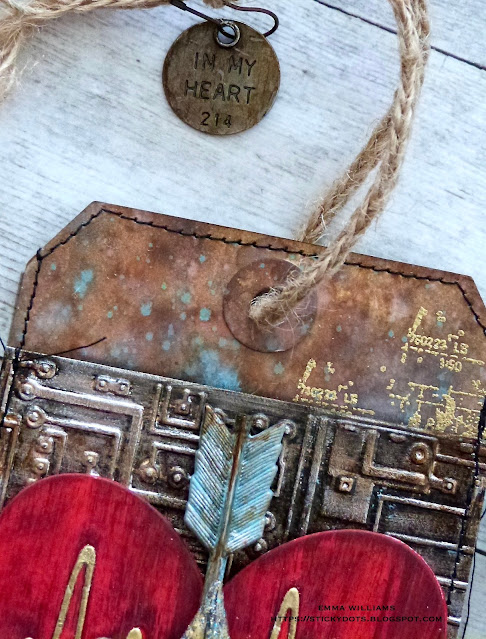
I then gave the tag another spritz to make sure the inks blended perfectly before I heat dried the surface and inked the edges with Walnut Stain Distress Ink.

At this stage, I added some text stamping onto the background and for this I used a couple of stamps from the Mini Glitch Stamp Set by Stampers Anonymous, stamped in clear embossing powder and then heat embossed in the SSS UltraFine Gold powder.


Moving onto the embossed layer, and for this I used the Circuit 3D Embossing Folder and a piece of Silver Metallic Kraft card.
I placed the card in the folder and then ran the card through my machine, running it backwards and forwards 3 times to create a deep impression and capture all those details.
Cover the metallic surface with a layer of Black Soot Distress Paint and then after wiping away the excess, you will notice that the paint sits nicely in all those little embossed areas, accentuating the details.
I then rubbed swiped the surface with some Gilded Alloy Alcohol Ink, before I flicked Cracked Pistachio Oxide Spray across the surface.
I cut the panel down to size before attaching it across the middle of my inked tag, and then machine stitching a border around the outside.
Now for the heart...
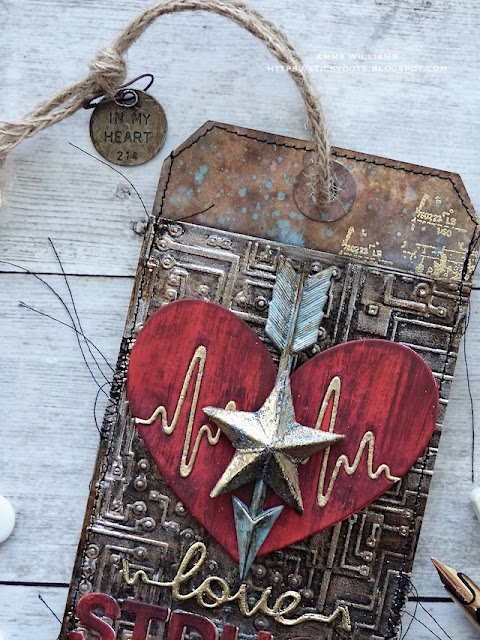
I used the Sizzix Heartbeat Thinlits die by Tim Holtz to cut Mixed Media Heavystock card. This die actually cuts into the card but I wanted to have a stand alone heart. So to create this, I began by die cutting the heart as normal and then just used the pieces that fall out of the die cut. I also removed the heartbeat rhythm line from inside the die cut, before putting the waste to one side to use later.
At this stage, I also cut the Love heartbeat line that is included with the die set. I cut this three times, then layered the separate pieces together to form one piece the thickness of chipboard.
Taking the two heart sections, I painted these with a combination of Candied Apple and Black Soot Distress Paint, applying a layer of Candied Apple first and then dry brushing a layer of Black Soot over the top to deepen and intensify the colour.
Taking the heartbeat line and the love heartbeat, I applied Tim's Embossing Dabber over the surface of each, sprinkled it with SSS Ultra Fine Gold embossing powder and heat embossed until molten. I repeated this another couple of times to create an enamelled sentiment.
Now to piece my heart back together and remember that die cut heart aperture section that I placed to one side? Well you need that for the next stage of creating a solid heart shape that I can mount my pieces on to and I used it as a stencil to trace around the heart onto a piece of card or mountboard, before cutting around the pencil outline to give me one solid heart.
I then adhered my painted heart sections and the heartbeat line onto the solid heart that I cut, giving me one complete red heart.
I attached the heart to the tag using foam pads and then placed an arrow adornment over the top, attaching it vertically with the arrow pointing downwards. I altered the arrow with a little Distress Paint, using Speckled Egg, Rusty Hinge and Black Soot to create an oxidised effect to the surface of the metal.


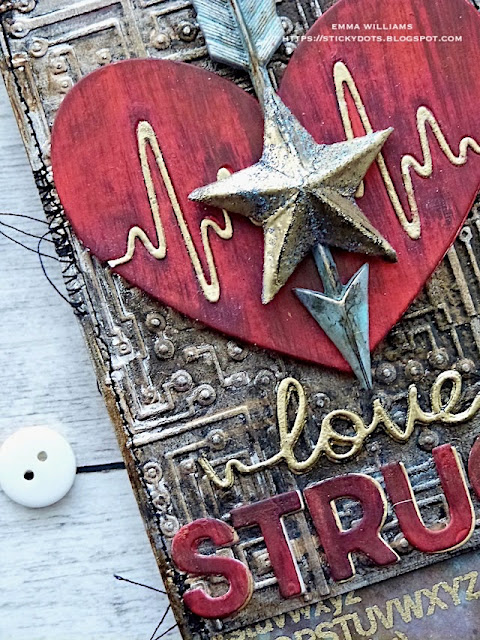
Over the top of the arrow, I added a star.

For this I used the largest of the star dies from the 2021 Christmas Vault Series Thinlits set by Tim Holtz and cut the star from card. I folded it along the score lines and shaped the star before adding a layer of embossing dabber over the surface and sprinkling Wow Oiled Slate Embossing Powder over the top. I repeated this process but for the second layer, I added Gold Embossing Powder but before heating the powder, I wiped away some of the gold from the surface to reveal the layers underneath.
Heat emboss the star and then attach over the top of the arrow, carefully balancing the points on the arrow. I used Matte Collage Medium and balanced it onto the arrow but you can use hot glue or foam pads.

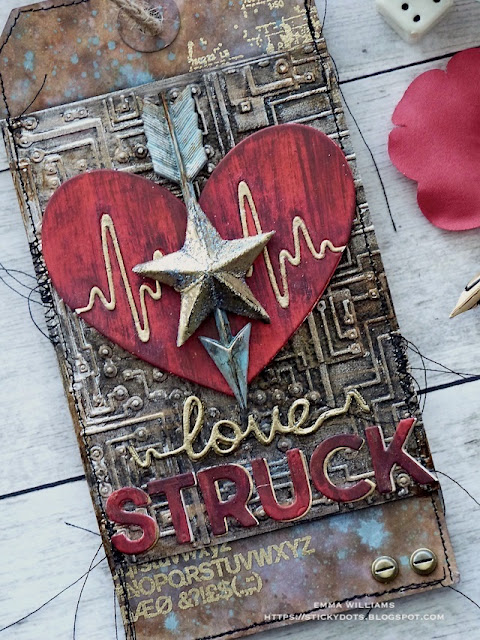
Attach the gold love sentiment underneath the heart and then I cut the word "STRUCK" using the Sizzix Bold Alphanumeric die set by Tim and cut one layer from gold metallic and a second layer from card that I coloured using the same paints and technique as I used on the heart.
I then layered the red letters over the top of the gold, slightly offsetting them to create a drop shadow.

Attach each letter to the tag, placing them underneath the love sentiment.

Finally, I added two Hardware Heads to the bottom right hand corner, both of which I coloured with a combination of Gilded Alloy and Mushroom Alcohol Ink.
For the finishing touch, I added some rope to the tag, and hung an idea-ology Thought Token from the end....

My tag is now finished and ready for Valentine's Day...
...and as always, I hope you love what I've made, and enjoyed all the techniques I've used. If you make anything, or if you've been inspired by anything that you've seen here on my blog ~ then please, let me know by tagging me on social media or leaving a comment here and I will be right over to take a look!
Don't forget that every week, one lucky random participant has the chance to win a $25 gift voucher from Simon Says Stamp and you can join in up to 5 times, which means you could have 5 chances to win. You have until next Monday at 8am Ohio time. 1pm UK time, 2 pm CET to join in and good luck....


Recipe for project:


I love how you use the words at the bottom - Love Struck is perfect using these dies. You really are able to hone in on what dies to use even when they are older!
ReplyDelete