Showing posts with label party time. Show all posts

Sunday, 29 June 2025

Poetry In Motion...

Happy Sunday friends...

Hope you're all having a wonderful weekend and the sun is shining wherever you are! 

Today, I'm thrilled to be sharing a brand new project over on the Simon Says Stamp Blog and hope you'll join me as I take you through the steps of how I created this make.

Click HERE for the full reveal of this make and enjoy the rest of your day!
Love Emma xxx


Sunday, 10 December 2023

Winter Scene Vignette for Simon Says Stamp

 Hello everyone and Happy Sunday!

Today, I'm so happy to be back on the Simon Says Stamp Store blog to share my latest Christmas project with you all and if you love the sneak peek below and would like to see more of this piece, then you can head over to their blog, CLICK HERE to check out the step by step process of how I created my make!

Hope you love what I've made and as always, I can't wait to see if you've been inspired by this make and if you are, then please tag me on social media or here on the blog and I will pop by to see your wonderful makes!

Thanks so much for stopping by and see you again soon!
Love Emma x

Tuesday, 15 February 2022

Bunny Games Panel for Simon Says Stamp

Hello friends!

Today, I'm so happy to be back on the Simon Says Stamp Store blog to share my latest project with you all and if you love the sneak peek below and want to see more of this piece, then you can head over to their blog, CLICK HERE to check out the step by step process of how I created this piece!


 Hope you love what I've made and as always, I can't wait to see if you've been inspired by this make and if you are, then please tag me on social media or here on the blog and I will pop by to see your gorgeous pieces!

Thanks so much for stopping by and see you again soon!
Love Emma x

Monday, 24 December 2018

Let's Celebrate...

Merry Christmas everyone and welcome to the last Simon Says Stamp Monday Challenge of 2018! This week our theme is called Party Time and for my project, I created a vintage style piece that is full of sparkle and using one of my favourite Paper Doll images ~ two beautiful ladies who are ready to party around the world.

This challenge will run for 2 whole weeks so you have until 8am on January 7th to join in!
So, let's begin the brand new challenge and here's how I created my 'Let's Celebrate' project...
 

To begin with I started with the background and for this, I cut a circle of canvas card to measure 17cm in diameter. For this project, I wanted to keep the background fairly neutral in colour with a hint of metallic and a just a pop of colour on the globe and started by adding the layers using some Symphony Tissue Tape that I have in my stash. You can use any of Tim's Design Tapes for these layers.

Tear off random pieces and attach them to the background, some vertically, some horizontally but focusing on the central section of the card. Once in place, I added some Collage Medium over the top before taking the Victorian Velvet and Vintage Photo Distress Crayons and just adding touches of colour over the top of the tape. I then applied some gesso, which I just scraped over the card and applied Grit Paste through the Stars Layering Stencil.
Once the paste is dry, I just add some more interest by splattering gold ink over the entire background and added some scribbles around the edges, using a black Pitt Artist Pen.

To create a frame around the background panel, I matted and layered onto a layer of Rose Gold Metallic Kraft Stash, followed kraft card, grey card and a final layer of gold metallic kraft stash.
I'm now going to move onto building up the layers and the focal point of this project and placed some ephemera pieces from the Collector Layers set and the Bingo piece from the Snippets Ephemera over the top of the ripped tape section, adhering them with foam to add some height.
Moving onto the globe, I used the Mini Globe to die cut silver metallic card. I then applied Mushroom and Gunmetal Alcohol Ink over the surface of the die cut to age it and create a more antique finish.

I layered the metal globe over the top of some card cut into a circle and inked with Mermaid Lagoon, Frayed Burlap and Salty Ocean Oxide Ink, shaping the globe to create a natural curve to the world. I attached the globe to the left hand side of the ephemera piece, slightly overlapping the edge on the left of the layer.
Finally, I added my 'girls' to the right of the globe and these lovely ladies were lightly colour tinted with the Spun Sugar Distress Marker Pen.
To finish this piece, I wanted to add the sparkle and for this I used the Sizzix Dimensional Stars Die set by Tim Holtz and cut the stars from Mixed Media Heavyweight card. Assemble the stars as per instructions and then I applied a coat of gesso over the top each of the stars.
Once the gesso is dry, I added some of Finnabair's Art Basics 3D Matte Gel over the entire surface and whilst the paste is still wet, I sprinkled over some Gold Rush Glass Glitter, followed by a layer of Vintage Platinum Glitter Dust, which just sits in the crevices that the glass glitter doesn't reach.

I allowed the stars to dry, (preferably you will need to do this overnight) before attaching them to my project. I also glittered a Star Adornment with some of the Vintage Platinum Glitter Dust and placed this onto the background.
Finally, I finished the piece with a Metallic Quote Sticker which was the perfect finishing touch for this party piece ~ 'Let's Celebrate'!

So, that completes my final project of the year and I hope you've enjoyed the creative process behind it and all the techniques I've used!
Before I go to enjoy my Christmas break, I'd just like to say a massive THANK YOU for all your love and support throughout 2018. I always appreciate every single comment and it has meant the world to know that you love what I do and have enjoyed all the projects I've shared!

Don't forget, you can find more inspiration from my talented teamies over on the challenge blog and every week, one lucky random participant has the chance to win a $50 gift voucher from Simon Says Stamp. You have until Monday 8am Ohio time. 1pm UK time, 2 pm CET to join in and good luck....


Thank you so much for taking the time to stop by today and the Simon Says Stamp Monday Challenge DT will see you again in 2019!!!
See you very soon, love Emma xxx

Recipe for project:

Tim Holtz/Sizzix Dies: Dimensional Stars, Mini Globe
Distress Paint: Picket Fence, Festive Berries

Tuesday, 18 June 2013

Flower Power, a Blog Hop and your chance to win a Create a Wreath Kit!

Hi everybody and welcome to the Craftwork Cards blog hop, here in the UK or over in the USA!

This is my first post as part of the blog hop and if you're a regular follower of my blog..then a big hello and hope you'll all join in but if this is your first time here, then welcome...it's always lovely to see new faces!!

I hope you're all well and enjoying the blog hop on both sides of the Atlantic so far! It's so exciting to be part of this blog hop and it's fabulous to see all the inspiration from both blogs.

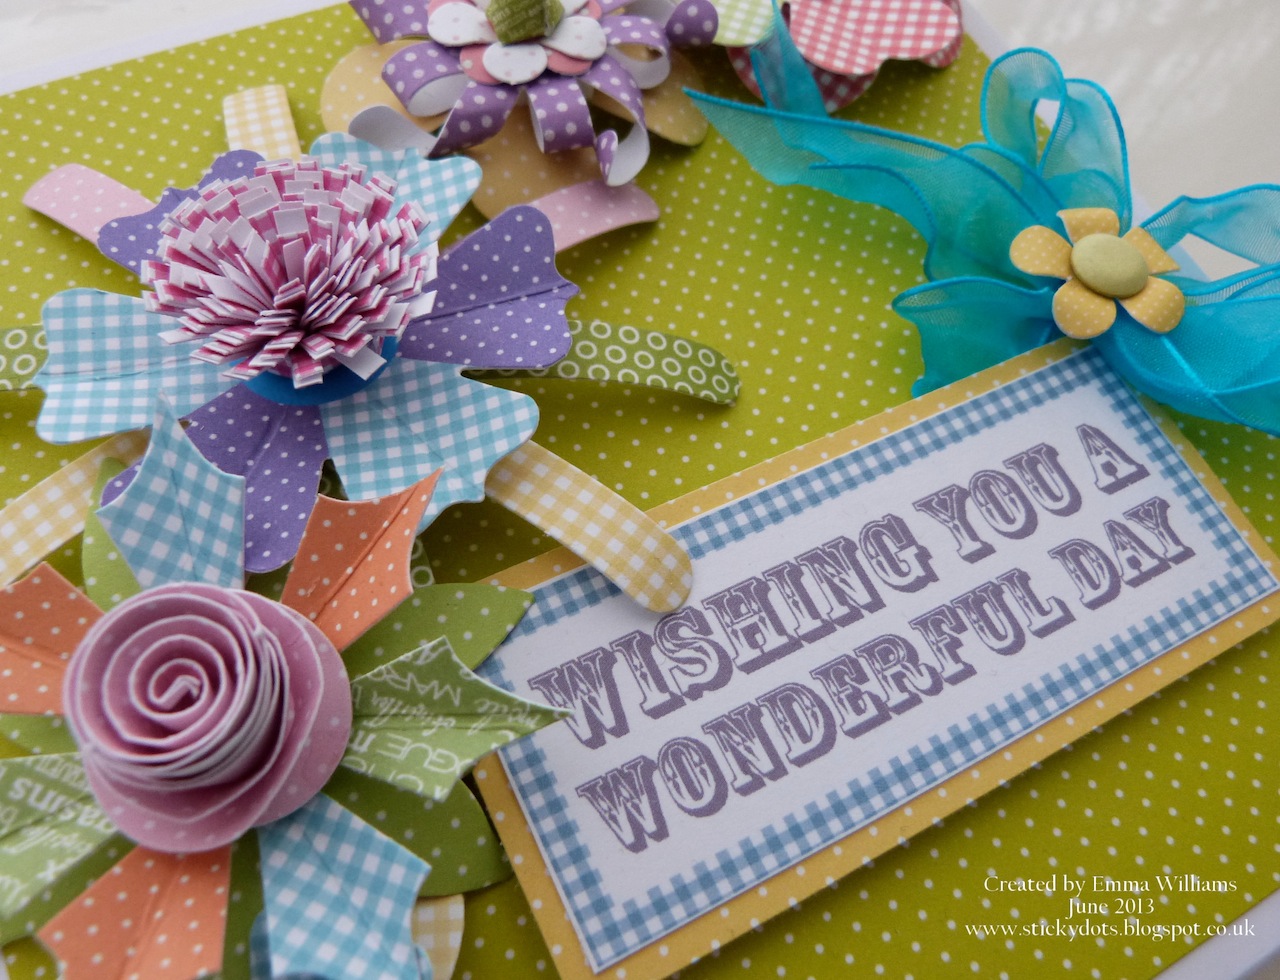
Today, I'm sharing not one but two wreath kits, Vintage Chic and Party Time and I've included plenty of ideas and inspiration of what you can do with these kits. They really are so versatile and an absolute joy to work with. I hope you like what I've created...
For my first project, I created a stepper card, using the Party Time Create A Wreath Kit but not in it's traditional way.
As you can see, I've used the flowers from the kit to decorate my card and added some die cuts and one of the new gorgeous paper bows!

My next project was to create a 6 x 6 gift box, again using the Party Time Wreath Kit.
For this project, I decorated the box with papers from Craftwork Cards and then added some of the dimensional blooms that I made using the Party Time kit.

For my next project, I used the Vintage Chic Create A Wreath Kit and this time I used the complete wreath kit to make a candle holder for a table centrepiece.
It's amazing what you can create using an old ribbon spool and one of these gorgeous Create a Wreath kits. I've taken lots of pics for you to see all the details of this piece.


I placed a glass votive holder in the centre of the wreath and used a FLAMELESS tealight! These flameless candles are perfect for when you're working with paper products, as you really don't want to use real candles!!!
My final project of today is a 6 x 6 gift box, which shows just how perfect these boxes are for your made up wreaths.

All Craftwork Cards products are available HERE!!

So, that's it from me for today and I really hope you've enjoyed what I've created and that I've given you some ideas and inspiration of how to use these kits in different ways! 

We would love you to join in with our Craftwork Cards blog hop and there will be plenty of inspiration all week long either on the UK blog or USA blog.

I'll see you again later in the week with some more ideas using another of these wonderful kits but before I go, if you would like to win, yes WIN one of these kits, then all you have to do is leave a comment either here on my blog or over my post, here on the Craftwork Cards blog. You don't have to be a follower of either blogs but I would love it if you would like to follow myself, and also the Craftwork Cards blog and then, I will be picking a winner chosen at random at the end of the day!!
Good luck and see you soon!

Emma xx
Powered By Blogger

Total Pageviews