
Hello friends and welcome to Day 2 of the Simon Says Stamp Hello Beautiful Blog Hop...

I'm so happy to be joining so many talented designers as one of the stops on this hop and if you'd like to see this fabulous new release in full, then just pop over to Simon Says Stamp.
You might have arrived here from Bobbi Lemanski's blog, but if you've just popped by and would like to join us for this fun hop, then don't worry because you can head back to the beginning over on Simon Says Stamp's Blog. Also, if you make anything using any of the awesome new products from this release, then we would love for you to share your creations with us in the Hello Beautiful gallery.
For my card, I combined a couple of the new products, the Spring Blooms Corner Die and the Slimline Beautiful You stamp set and I combined these to create a vintage style card which I hope you love!
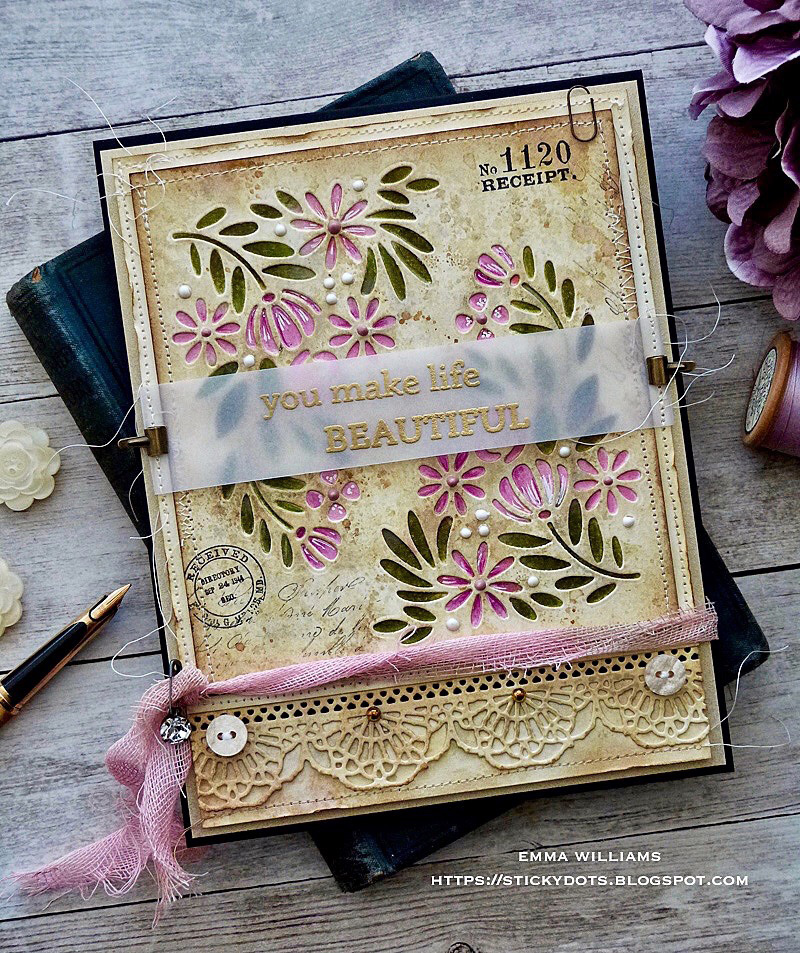

Moving onto the background and the decorative die cut panel.

I cut a panel of Mixed Media Heavystock card, 13 x 14cm and inked it with a combination of Antique Linen, Pumice Stone, Frayed Burlap Tim Holtz Distress Spray Stains and Frayed Burlap Oxide Spray. Once I misted the cardstock with a light spray of water I spritzed the stains to directly onto the card panel.
Taking the Spring Blooms Corner die, I placed this in the top left hand corner, and ran it through my die cutting machine. I then flipped the die to the bottom right hand corner and again ran through my machine.
I added some stamping to the background using Jet Black Archival Ink and the script stamp from Stampers Anonymous The Poinsettia and the postmark and receipt number stamps from the Field Notes stamp set. Both sets are by Tim Holtz.


After inking the edges with Walnut Stain Distress Ink, I machine stitched a border all around the outside of the die cut panel.
After cutting a second panel of the Heavystock card, 14 x 15cm, I used the corner die to cut a stencil from Sizzix Stencil Film sheets. This will mean that I can ink through the stencil to obtain the correct placement of ink when I place the die cut card panel over the top.
Placing the die cut stencil film onto the second card panel, I inked the flowers and leaves through the stencil using Kitsch Flamingo Oxide Ink for the flowers and Peeled Paint and Forest Moss Oxide Inks for the leaves. Repeat to ink the flowers and leaves in the opposite corner.

Machine stitch a border around the inked panel and then mount the die cut and stamped panel over the top, aligning the die cutting with the inking on the second panel, so that it lines up perfectly.
Cut a strip of vellum, 3cm wide and ink up the 'You Make Life, Beautiful' stamps from the Beautiful You stamp set using clear embossing ink. Sprinkle gold embossing powder over the top and heat emboss until molten.
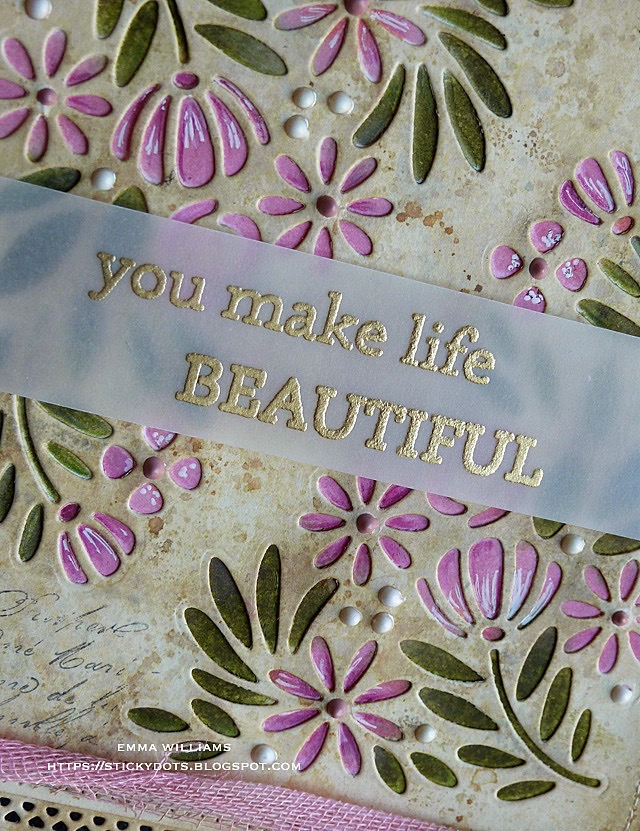
Wrap the vellum sentiment strip around the decorative card panel, securing it by machine stitching down each side and adding Tiny Clips to hold it securely in place.

I mounted the matted card panels onto the top section of my card using foam pads for dimension and a little height.
Underneath the decorative panel, I used the Crochet Die Set by Tim Holtz to die cut a strip of Mixed Media card stock inked with the same colours as I used on the background panel. After inking the edges of the die cut with a little Frayed Burlap ink, I then adhered it onto another strip of inked card stock and mounted this underneath the decorative panel, again using foam pads.
To complete the strip, I attached two gold metallic droplets and a couple of buttons from my own stash.

We're nearly there and all that's left to do are the finishing touches...

...and the first of those is the tie of Mummy Cloth, (taken from the Tim Holtz Halloween Trimmings set) that I coloured using Antique Linen and Kitsch Flamingo Distress Spray Stains. I just spritzed the cloth with the stains and then dried it throughly before wrapping it around my card and securing it with a Mini Pin and an Antiqued Gem.

Finally, I added small dots of Tonic Nuvo Chalk Stick Vintage Drops to the decorative die cut panel.

HOP ORDER
Emma Williams (you are here)
Tim Holtz Stamps: Field Notes, The Poinsettia
Distress Spray Stain: Pumice Stone, Frayed Burlap, Antique Linen, Kitsch Flamingo
Mediums: Jet Black Archival Ink, Matte Collage Medium, Sakura White Pen, Tonic Nuvo Chalk Stick Vintage Drops, Ultrafine Gold Embossing Powder, Versamark Clear Embossing Ink
Foam Pads
Big Shot


