Hello friends and welcome to Day 1 of the Simon Says Stamp Just A Note Blog Hop.
I'm so excited to be joining so many of my talented friends and designers on this hop and if you've arrived here from Miriam's blog ~ then hello, but if not, and you want to catch up with everyone who is participating in this hop, then don't worry because you can head back to the beginning, HERE.
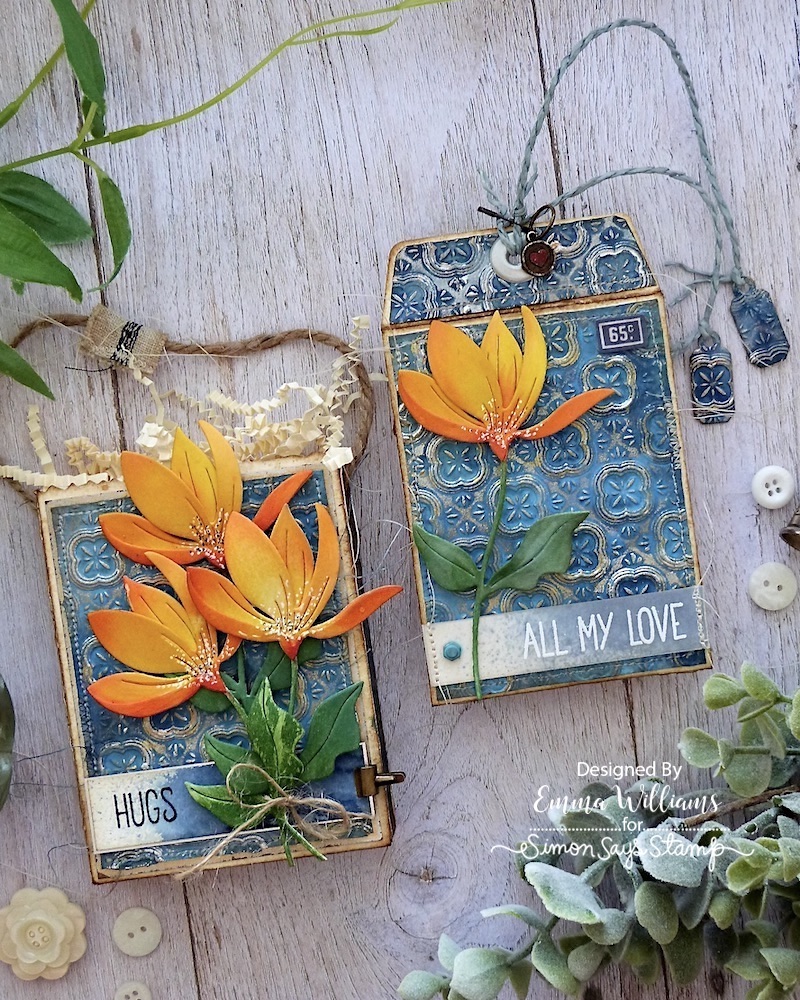
You can check out all the fabulous new products in this release, HERE including the gorgeous Fresh Cut Floral Stem and the Margot Tile Embossing folder that I used to make my gift bag and gift card holder, which I hope will inspire you with a few ideas that can also be used on cards and home decor pieces.
So let's begin this stop on the hop and here's how I created my projects....
To begin with I cut the gift bag and the gift card envelope holder using the Tim Holtz/Sizzix Treat Bag Die and the Collector die sets from Tim Holtz Distress Mixed Media Heavystock card and assembled each piece by folding along the score lines and then inking the edges with Walnut Stain Distress Ink.
Now we can move onto decorating each piece and I started by creating the backgrounds.
BACKGROUNDS
I placed a piece of Mixed Media cardstock into the Margot Tile Embossing Folder and ran it through my die cutting machine. Repeat to make a second embossed panel and then place these in a splatter box, and spritz with Distress Spray Stains in the following colours;
Speckled Egg, Chipped Sapphire, Faded Jeans, Antique Linen and Speckled Egg Oxide Sprays
To obtain the blend of colour, I applied the stains one at a time and misted with a little water before heat drying the panel.
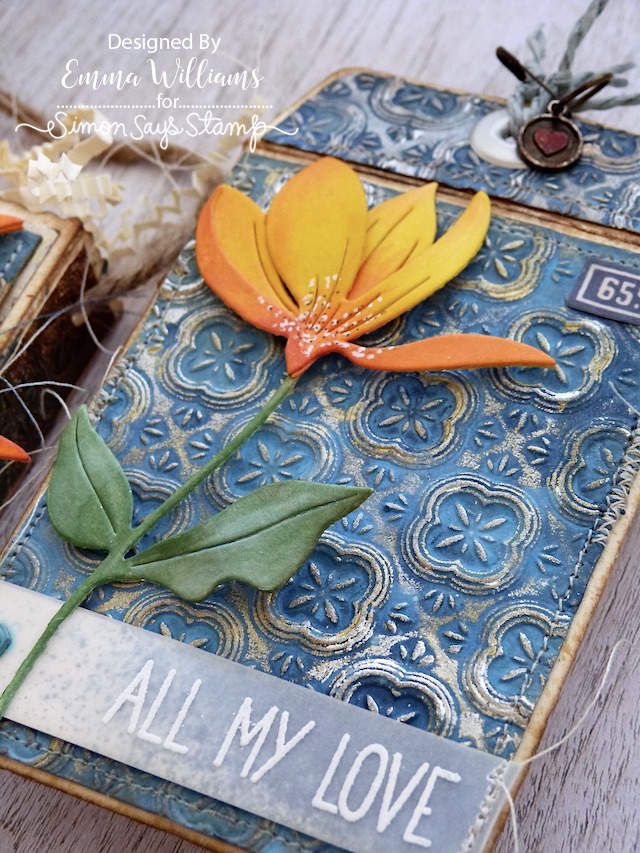
To accentuate the raised detail of the embossing, I used a little Sterling Foundry Wax which I rubbed over the detail using my fingertip. I then set the wax using a heat gun.
FLORAL STEMS
I cut all my pieces from Mixed Media Heavystock card to make four stems in total ~ I will use three on the bag and the remaining stem on the envelope.
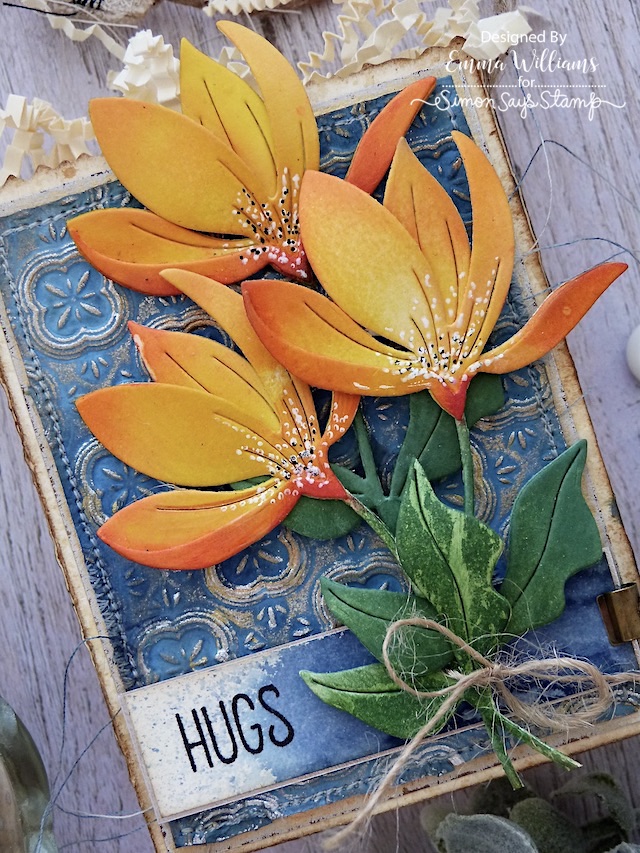
Using blending brushes, I blended the flower heads of each stem using the colours from the Yellow Sunsets Positively Saturated Ink pads and then applied Pine to each stem and the leaves.
I assembled each of the flowers, shaping the petals and leaves to create dimension.
In the centres of each flower head, I added some tiny little dots using a white and black gel pen.
GIFT BAG
Now to start assembling each of the pieces and starting with the gift bag, I cut one of the panels into two separate pieces that fit the back and front of the bag. I also cut a further two strips for the sides, spritzing these with a Vintage Photo and Rusty Hinge to create a variation of colour.
Machine stitch around the edge of each panel and then attach one embossed panel to the back of the bag and then matt the second panel onto a piece of silver metallic kraft stock, before mounting it onto the front of the bag.
Attach the strips down each side and then unch a hole through the two sides using a Crop A Dile and then thread some rope through each hole, securing the ends with a knot.
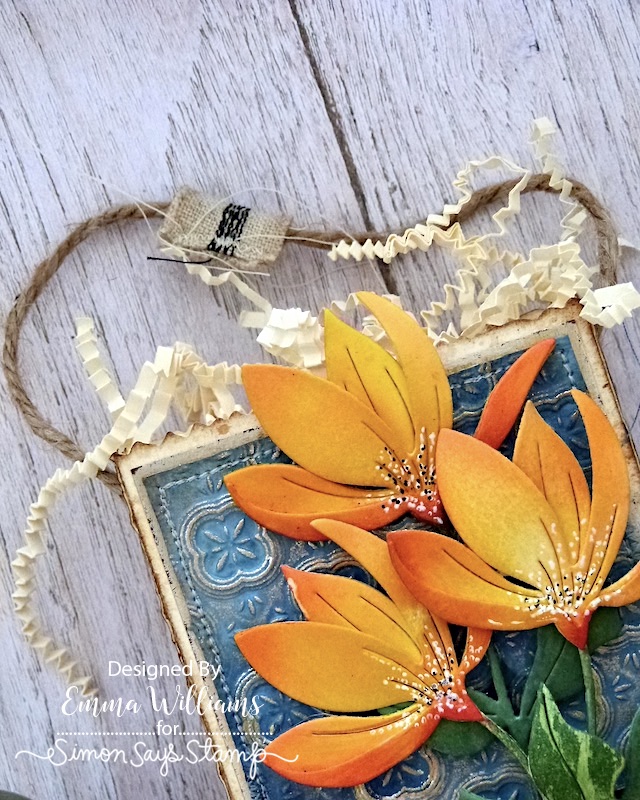
I stitched a piece of linen onto the rope handle as an added detail.
Across the bottom section of the bag, I cut a strip of the cardstock, spritzed the right hand section of the strip with Faded Jeans Distress Spray Stain and then heat dried the card thoroughly.
Once dry, I inked up the 'Hugs' sentiment stamp from the Rose Corner stamp set with Jet Black Archival Ink and stamped this on the left hand side.
I then took three of the floral stems and arranged them into a bouquet. Adding foam pads to the backs of the arrangement, I then attached them to my bag, tying a piece of twine around the stems.
After mounting the strip onto silver metallic kraft card, I attached it to my front panel and added a Mini Clip on the right hand side.
The bag is ready to fill, and I placed some shredded paper into it.
GIFT ENVELOPE
Cut the remaining embossed panel to fit the front of the envelope, and machine stitch a border around the edge and then cut a piece of the card to fit the envelope flap.
As with the bag, I used a strip of inked card which I placed across the bottom of the envelope but this time, I added a vellum wrap which I stitched into place. I then inked up another of the sentiments form the Rose Corner stamp set, this time in clear ink and stamped the wording All My Love onto the covered strip. Sprinkle white embossing powder over the top, tap away the excess and heat emboss until molten. Mount the strip across the envelope, adding a Hardware Head on the left hand side.
Punch a hole through the top of the flap, and then place an eyelet into it. Fix into position with the Crop A Dile tool.
I thread some paper string from my stash through the hole and then die cut two small tags from the remaining embossed cardstock, using the dies from the Collector Die Set. I attached the tags to the end of my twine and then added a small ephemera piece taken from the Field Notes Ephemera set, which I glued into position in the top right hand corner.
I hung a little Tim Holtz idea-ology metal Word Tag from the twine, which I painted with a little Lumberjack Plaid Distress Paint to add some colour the heart, and then attached this to the twine using a Mini Pin.
Finally, I attached the remaining floral stem to the front of the envelope, again using foam pads to add some dimension to the piece...
...and that completes my makes for this stop on the Just A Note Blog Hop, which I hope you love as much as I loved making them!
Simon Says Stamp is giving away a $25 coupon to every stop on the blog hop from the blog comment section! So, this means you can leave a comment here and on every stop along the way to increase your chances. Winners will be notified and they will be posted on the Simon Says Stamp blog on Wednesday, 2nd August and all winners will need to contact/email Simon Says Stamp to claim their prize.
Also, don't forget that you have until 11:59pm on 30th July to claim a free gift with every purchase, the Handcrafted With Love stamp set and all you have to do is search sss102561c in store, add to your cart and then enter the code ART at checkout.
Thank you so much for stopping by today and hope you enjoy this fun hop....see you soon, Emma x
HOP ORDER:
RECIPE FOR CARD:
Twine
Black and White gel pens