
Happy Monday friends...
Hope you all had a fabulous weekend and ready for the brand new week and, the official start of a Christmas 2023, here on my little blog!
Also, as you all know a Monday brings a new Simon Says Stamp Challenge and this week our theme is all about....TREES! So whether you decide to make something wintery, for Christmas, or just use trees within your makes ~ whatever you decide, the DT hope you'll join us and play along!
For my make, I had decided to make a vintage style Christmas scene, and used the amazing products from Tim Holtz's Christmas idea-ology 2023 release, combined with some older favourites from previous years.
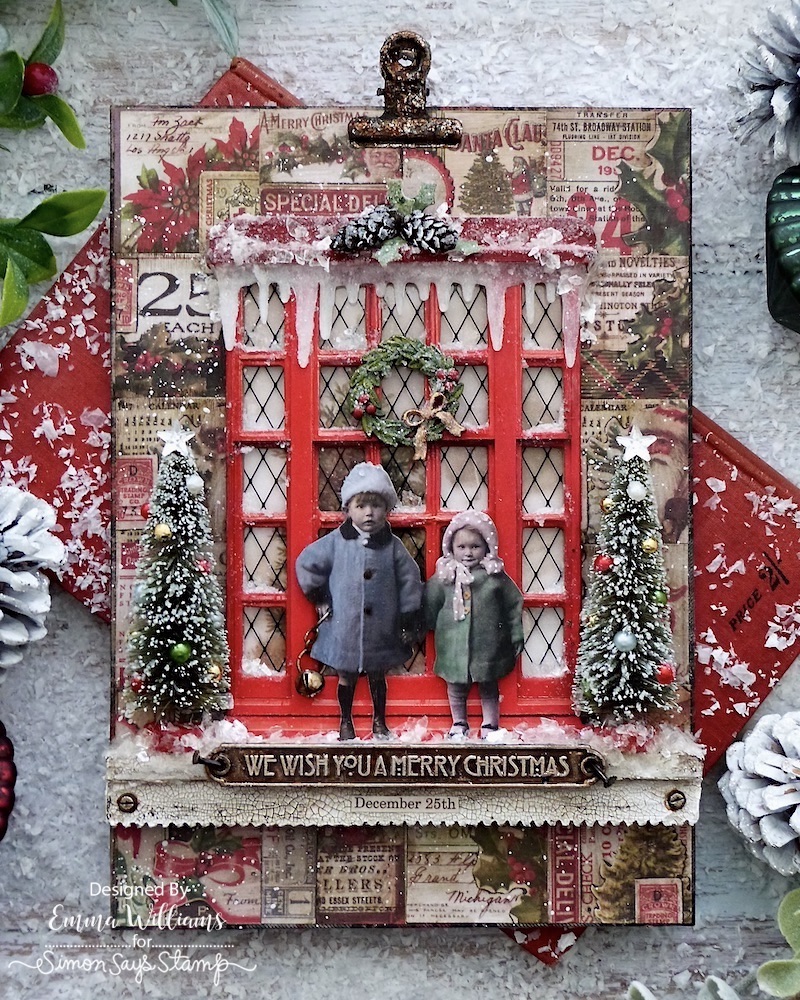


To begin with, this project uses the largest sized Rectangular Etcetera Panel and I applied a plaid design from the Christmas Design Tape set, around the edges.
BACKGROUND
For the background, I used Collage Tiles from 2022. You need to get these whilst you can, as sadly didn't come back this year, but I LOVE them so much and have a stash in my craft room, so thought it would be a good idea to use these up on this make, because they made the perfect backdrop. If you can't find any Collage Tiles, then don't worry, just cut up papers to create the same effect on the background.

I arranged and adhered the tiles onto my panel, attaching them with Matte Collage Medium. I then sealed the tiles with a layer of the medium and once the surface was dry, I ran my Walnut Stain Distress Crayon along each of the joins on the panel, blending out the crayon with my fingertip.
Once I was happy with the background, I used the splatter brush to lightly splatter Picket Fence Distress Paint across the surface.

Set the panel to one side to begin work on the next stage.
LEDGE and WINDOW FRAME
For the ledge, I layered and adhered three Pinked Etcetera Trims over one another to form a thick, substantial ledge. I then adhered a straight trim from the Halloween Web Trims across the top of the ledge to form a lip for the paper dolls and trees to stand on.

Once the medium was dry, I applied a good layer of crackle paste over the entire piece. Leave the paste to do it's thing and once the crackles have appeared and the medium is dry, I ran Walnut Stain Distress Crayon over the surface to accentuate the crackles, wiping away any excess so that the white still shows through.
Attach the ledge so that it fits across the width of the panel.

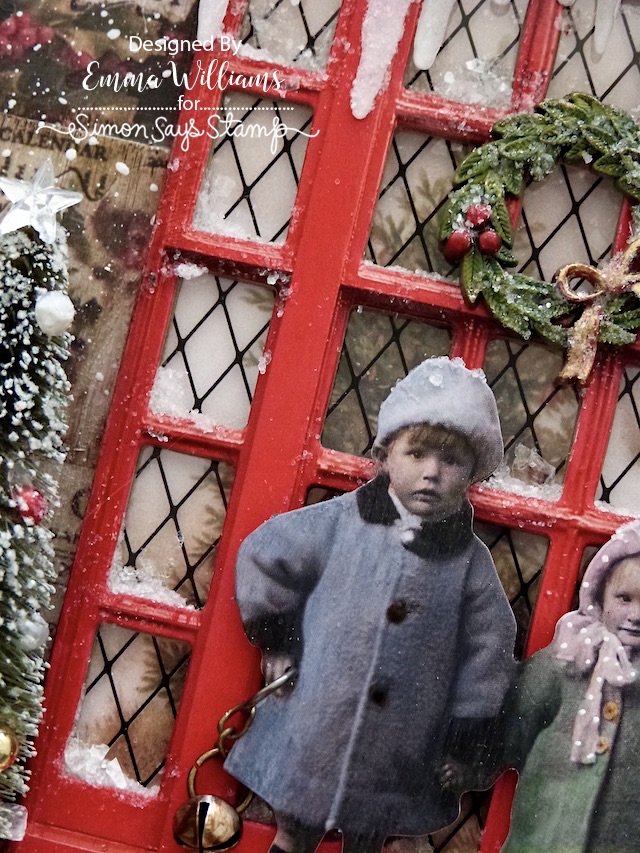
The window frame is from the Christmas Baseboards and Transparencies set and I placed a piece of the acetate, also from this set, behind the window to form a leaded window effect.

I popped the window onto foam pads, before attaching this to one of the pieces in the Christmas Ephemera Pack. This beautiful piece shows a Christmas Tree and just needs to be trimmed down to size to fit behind the window itself.

After sanding the edges of the frame, I applied a coverage of Walnut Stain Crayon, blending out the harsh lines with my fingertips. My window frame is now ready to place onto the panel, and I attached this so that it lines up with the ledge.
To decorate the frame, I added some Snowfall Grit Paste along each of the tiny window panels before adding the top section.
This is made from two of the smallest sized Bracket Etcetera trims and I painted the trims with Candied Apple Distress Paint. I then knocked back the brightness with a little Black Soot Distress Paint. Place the two trims together to form an 'L' shape and attach to the top of the frame.
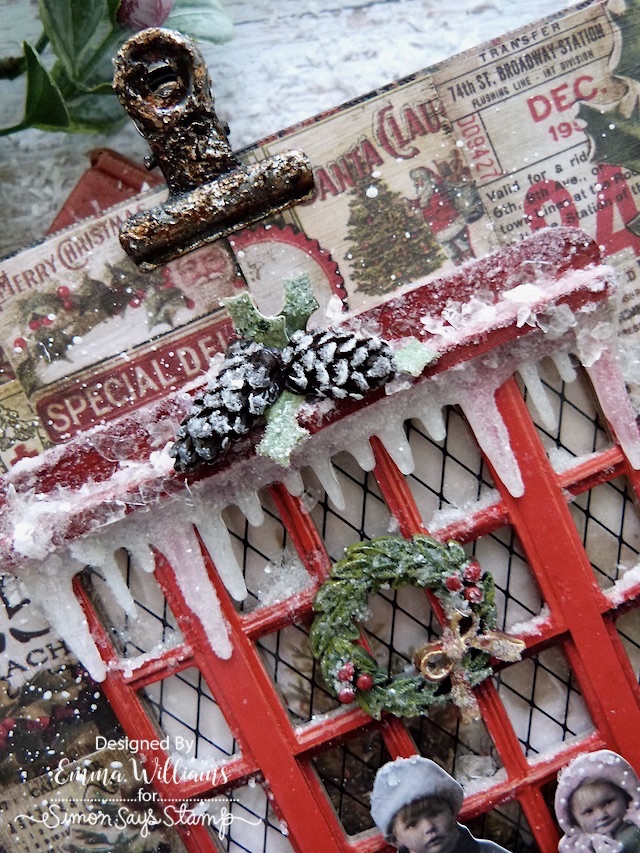
Underneath the canopy/pelmet, I added some of those gorgeous drippy icicles. These are another item that you need to grab whilst you can, as they didn't make a return this year.

I used two icicles, cutting one of them down so that they fit across the top of my frame and to add the icy look to these pieces, I painted the backs of each piece with Picket Fence Distress Paint.
Once dry, I then flipped them over, and applied some Glossy accents which I smeared over the surface, before sprinkling Rock Candy Glitter over the top.

Allow for these to set before attaching them to the frame, placing them underneath the little Etcetera Trim canopy.
WINDOW FRAME DETAILS
Along the top of the frame, I added two of the smallest sized pinecones and some small die cut holly leaves. On each of the pinecones, I smeared a small amount of Picket Fence Paint, before attaching them to the canopy. I then used Tim's Christmas Minis die set by Sizzix to cut tiny holly leaves from green cardstock, before shaping them and adding them to the arrangement.

To complete the top section, I drizzled some Glossy Accents over the canopy and then sprinkled Mica Flakes, letting them fall where they land, and tapping away the excess flakes.
The final touch to complete the frame is the wreath. This is from the Christmas Wreath Adornments set and I painted them with Distress Paints. I then placed the wreath in the centre of the window, adding a dusting of Rock Candy Glitter over the top.

PAPER DOLLS
The paper dolls that I chose is from the Christmas Layers and Paper Dolls set and I colour tinted the image with Distress Crayons and a waterbrush. I also added some tiny polka dots to the little girl's hat using a white pen.

In the boy's hand I added a Tiny Bell from the Holiday Bells pack. After altering the metal with a little Rust Alcohol Ink, I attached it to a Jump Ring. I then attached this to a small piece of chain and a second jump ring. I then pierced a small hole in th boy's hand and threaded the ring through the hole.

Add foam pads to the back of the paper dolls and place them in the centre of the frame.

CHRISTMAS TREES

Either side of the frame, I used two of the smallest sized Alpine Woodland Trees. Because these trees are slightly thinner than the older style Woodland Tress, they are absolutely perfect to place on the ledge and all that you need to do to make sure they fit snuggly, is cut away some of the sisal branches at the back of the tree.
Once that was done, I started to colour them and began by using the resist technique, something that I've done many times when creating these trees. I just dab a small amount of gesso onto the tips, leave them to dry and then spray them with a combination of Bundled Sage and Iced Spruce Distress Spray Stains.
Remove any excess moisture before drying them with a heat tool, or naturally.
Once my trees were dry, I painted the bases with Candied Apple Distress Paint and then attached Christmas Droplets to each tree.

Finally, I smeared some Glossy Accents onto the tips of each tree, and sprinkled Rock Candy Glitter over them before placing a Mirrored Star on top of each tree.

Attach the trees to the ledge.
WORD BAND
We're nearly there and all that's left is the metal Word Band. I used the "We Wish You A Merry Christmas" banner and altered the metal with Distress Paints and Foundry Wax. I applied a layer of Black Soot Paint over the entire band, allowed it to become tacky and then wiped away any residue. Heat dry and then adde a small amount of Statue Foundry Wax over the metal. Heat set, and then repeat with Sterling Foundry Wax.
I then drizzled Mushroom Alcohol Ink over surface, dabbing away the excess puddles and added a final layer of Statue Foundry Wax to accentuate the lettering.

I attached the band directly to the ledge...

...hammering two tack nails into the holes on either side and bending those nails back with a pair of pliers.

Now for the final touches to complete the project....
I added Hardware Heads to either side of the ledge and then placed a "December 25" Clippings Sticker underneath the word band.
After a dusting of Mica Flakes along the ledge and around the base of the trees, I added an altered Hinge Clip to the top of the panel.

So, that's my project finished and completed for this week and I hope you love what I've made and it's bought the feeling of Christmas into your homes!

Don't forget that every week, one lucky random participant has the chance to win a $25 gift voucher from Simon Says Stamp and you can join in up to 5 times, which means you could have 5 chances to win. You have until next Monday at 8am Ohio time. 1pm UK time, 2 pm CET to join in and good luck....


Recipe for project:


No comments:
Post a Comment
Thank you for all your comments and messages, they are all appreciated and I hope you'll come back and visit again soon...
Emma ~xx