Hello everyone...
Hope you're all having a great week!
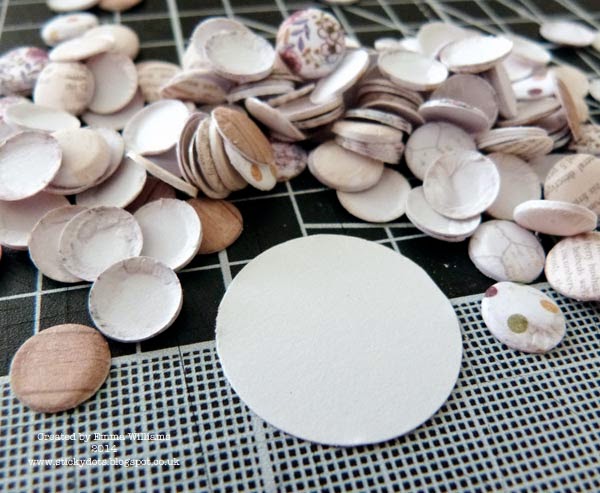
A few weeks ago, I shared a project that I made for Craftwork Cards featuring some Candi flowers. I had so many messages and emails about these flowers, asking if I could do a tutorial and, to all those people that kindly took the time to write ~ I promised that I would! Well, better late than never...I've finally got around to sharing this with you, together with another project that I created for Craftwork Cards featuring The Potting Shed paper collection and their cute little birdhouses, and of course...the Candi flowers. Hope you enjoy...
To begin with:
1. Punch out a 1" circle from card. At this point the size of the flower, is dependant on the circle size. So, if you want a bigger flower, all you need do is punch out a bigger circle and just add more Candi.
2. Create a valley fold in the centre of each piece of Candi. For this size circle, I would use 11 pieces.
3. Apply a circle of glue, either silicone glue, Pinflair or using a hot glue gun and place the folded Candi around the edge of your punched circle.
4. Continue all the way around until you have a circle of folded Candi and your first layer to the flower.
5. To create the second layer of your flower, take 8 pieces of Candi, (I used a co-ordinating pattern for this flower) and add a good sized amount of glue in the centre of the circle. Attach a second layer of your folded Candi, arranging it in a circle.
6. You should now have a double layer of Candi and need to create the centre. For this, take six pieces of Candi from the pack and create a mountain fold in each. Add another good amount of glue in the centre of your flower and stick each piece of Candi into the glue, placing them at a 90° angle, so that they slightly stick up to form the centrepiece.
7. And there you have your finished Candi flower to add to any of your Craftwork Cards projects.
As you can see, I added my Candi flowers around the base of my birdhouse which is created from chipboard and painted with PaperArtsy paints and Crackle Glaze. I added the flowers, together with some small die cut flowers.
The birdhouse is attached to a cotton spool, which is attached to the base and I also added die cut flowers to the roof of my project, and used real moss and die cut foliage to create a cascade.
To complete the birdhouse, I used a die cut birdie, painted with Distress Paints and attached him to the front of his little house!
See you soon and enjoy the rest of your day...
Love Emma xx


Thank you so much for taking the time to share with us. Julie Dodds xx
ReplyDeleteGreat use of the Candi ;)
ReplyDeletexoxo Sioux
What a brilliant way to use the candi Emma. Love the birdhouse. thank you for sharing xxx
ReplyDeleteAs always everything you do says classy...this is no exception...live it, must try those flowers.
ReplyDeletevery pretty. not your usual grungy stuff but it still has your spin on it xx
ReplyDeleteI most certainly do love your creation Emma, it's beautiful and as always has your precise attention to detail over the whole design is very evident. Great tutorial for those very pretty flowers & have pinned it to my 'creating flowers' board.
ReplyDeleteHope you are keeping well lovely lady.
Hugs
Lesley Xx
I am new to your blog and so I am wondering what are Candi flowers?
ReplyDeleteHi Sheila,
DeleteWelcome to my blog and thank you so much for following! Candi flowers are an embellishment that I make using a product (Candi ~ http://www.craftworkcards.co.uk/products/by-category/1/1/candi.html ) from a company that I design for, called Craftwork Cards. It's basically a paper dome that is similar to a brad and can be used like a brad but it also can be used for other things, for example to make these dimensional flowers! Hope that helps and if you need to ask anything ~ then just give me a shout! Have a GREAT weekend! x
Emma thank you so much for another great tutorial. Love your birdhouse and the fab Candi flowers. They are awesome !!! And seems as if they are not too difficult to make.....
ReplyDeleteThanks a lot !! You are very creative and talented !!!
Hugs from Monica.... Spain
Gorgeous!!! Thanks for the tutorial!!!
ReplyDelete