Hello there...
Well by now if you are a Tim Holtz Addict like myself, you will have seen the amazing new idea-ology 2023 collection and all the inspiration from the makers. If you did miss the LIVE then don't worry because you can catch up with it
HERE on Tim's blog!
When these products arrive, I always like to spread them out on my desk, to find that lightbulb moment from something that is in the collection and this time for both of my makes, I was inspired by photos and one photo in particular stood out ~ the photo of the workmen, shading together outside a building. This photo is exactly the same as a photo I have of my Great-Grandfather and I also have a similar one of my Grandfather. They were both in the building and engineering industry and my Grandad is a huge inspiration to me, so much so my family have always said that I'm a little 'mini him' in character and that I owe so much of my imagination and style to my Grandad, (and my love of arts and craft, well that's down to my Nan). So, with my beloved Granddaddy in mind, the story unfolded of the Ink and Paint Dept, 1926 and the products just came together seamlessly to create my Divided Vignette Box...


There is quite a lot of detail to this piece but I've added a list of all the idea-ology products, together with the rest of the products that I used, at the end of the post.
So gather your stash and let's start creating...
PREPPING THE DIVIDED BOX
To begin with I covered the outside of my box using one of my favourite papers from this entire release, and taken from the Backdrops Vol 4.


I cut the panels to fit, adhered them in place with Matte Collage Medium. adding a coat of the medium over the top to seal the papers. I then added some Crackle Paste, paying particular attention to the corners. I allowed for the paste to dry and do it's thing before applying colour using a watered down solutions of Gathered Twigs, Vintage Photo, Black Soot and Walnut Stain Distress Paint which I layered individually and applied with a brush. On each side of the box, I added Hardware Heads to run down the length.

Now to make the front and you will notice that this box has a slight difference and that's because I added a solid section, centre left.
For this I used a Vignette Box that had actually arrived broken, the top had come away and yes, it was easily fixable but imagination took over and I knocked out the opposite side of the box to match. The amazing new texture hammer came in useful for this...
With the top and bottom sides removed, the box slotted into the central section horizontally, with ease and I just glued it into place and left it to dry.
I covered each section of the box, back and sides, using papers from the pack and sealed with Matte Collage Medium and then added design Trim Tape along the edges on the front.
To add more of an 'oldy world' look to the piece, I ripped small pieces of paper that I adhered to the corners of each of the divided sections. I then applied Crackle Paste over the paper, allowed that to dry before applying a watered down solution of paint in exactly the same way as I did on the corners on the sides. You can see the effect in the photo below...

The box is nearly there and after running the Gathered Twigs Distress Crayon along each of the edges to give them the finish I wanted, all that's left is to cover the back...

....and even though I will be attaching Tiny Lights, I always like to finish the back of anything I make, it just goes that extra mile and I just cut more of the papers from the pack, this time using the Palette design and an extra sheet and adhered them to fit across the whole back section of the box.

The final detail on the box is on the top and I added a knob that I layered over the top of a sprocket gear. The metal was altered with Distress Paints and adhered with Matte Collage Medium before I wrapped some chain around the knob.

Around the base of the knob, I added some Grit Paste which once dry, had the same paint treatment as I used on the crackle pasted corners.

ATTACHING THE TINY LIGHTS and the LANTERN

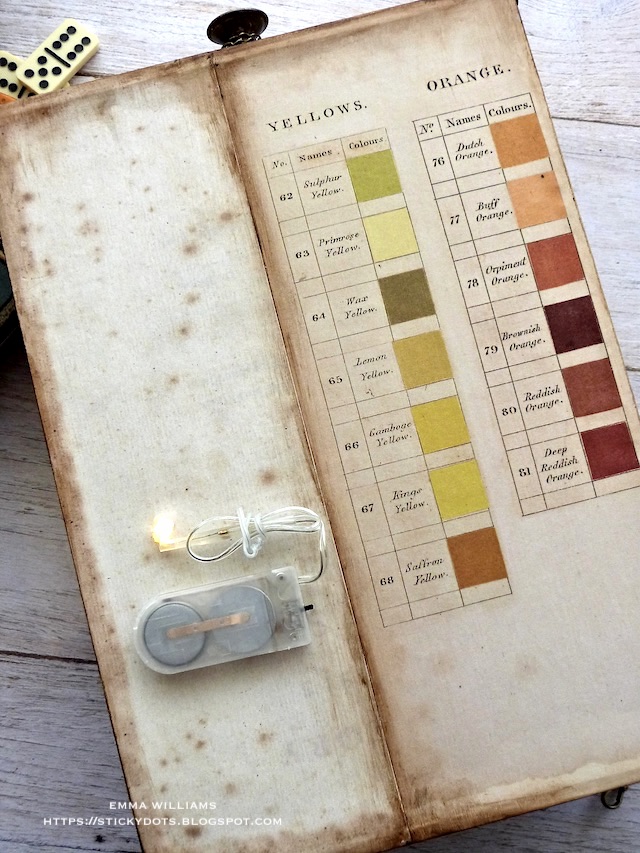
After sealing the papers on the back of the box with Collage Medium, I made a hole for the tiny lights to be threaded through and attached the battery box.
We now need to paint that lantern and create the patina to the surface, which I did by using Salvaged Patina Distress Paint. I applied the paint to the metal and allowed it to go slightly tacky. Once that had happened, I took a soft cloth and removed some of the paint. Using my finger, I rubbed a light coverage of Antiqued Bronze Distress Paint over the metal, just allowing my finger to touch the surface, accentuating the edges and for the paint to catch in random areas.

Finally, I smeared a little Black Soot paint onto the metal to complete the lantern.

Add the lights inside the lantern and then cut away the excess, you only need two or three of the bulbs in this. I secured the lantern in place and then clipped a chain onto the handle, leaving it to drape down the side before adding the Fragile label, from the Palette Ephemera Pack. I adhered this to a piece of chipboard, and stained the edges before attaching it inside the compartment, placing it above the lantern itself.
Below is the box with the lights turned off...
PHOTOGRAPH

To create the photo section, I took my favourite image from the pack and began by creating the deckle edge using Tim's trimmer. I adhered the photo to my solid box front with collage medium.
I wanted to keep the photo black and white, I love colour tinting but also adore b&w images but this is vintage, so I took my paint solution that I've used on the box and I added the colour around the edges.
Beneath the photo, I attached a Ruler Piece. I broke one end from the ruler and then swiped the surface with Walnut Stain Distress Ink, before sanding the edges.
Adhere the ruler across the bottom of the photo.
Attached to the ruler is one of the large word plaques, and of course this had to be altered and began by painting the plaque with Black Soot Distress Paint. I allowed the paint to dry slightly before wiping away the excess and allowing the paint to sit in all the nooks and crannies.
I then took Antiqued Bronze and Salvaged Patina Distress Paints, pounced the paint over the top of the metal plaque and once again removed any paint from the wording.
Finally, I took a combination of Sterling and Gilded Foundry Wax and smeared this over the lettering to highlight it the wording. Heat set the wax before attaching to the ruler, adding two Hardware Heads either side of the plaque.

Now all that's left is to fill those compartments and bring the story to life....
GEARS and BOTTLES
The top section is filled with rusty old gears, paint brushes and laboratory bottles, splattered with paint and corked vials filled with colour that is spilling over the tops.

Recipe of idea-ology
Industrial Gears, Corked Vials, Tiny corked Vials, Factory Tags, Hardware Heads, Laboratory, Paint Brushes, Mummy Cloth, Date Dial, Curator Ephemera
Each of the corked vials have twine tied around their necks, and Curator Ephemera labels added. To add the paint inside the bottles, I just poured a small amount in, emptied the remaining and allowed to dry.

The paint brushes were new out the pack, I bought them from a local £1 shop but with a little alteration, a few breaks and a lot of paint dipping ~ they took on a whole new world and were added to the assemblage.

The gears are all altered with Distress Paints and then layered and attached with Collage Medium.

I added the "Ink & Paint Dept 1926' Factory Tag, leaning it against the gears to complete this section.

BOTTOM LEFT
In this compartment, I made a shelf using a Pinked Etcetera Trim that I cut down to size. After painting the trim, I attached it and then loaded the compartment with goodies.

You can see one of the new Figure Stands, I used the star that I painted with Barn Door Distress Paint. I also added some tiny books made from the covers in the Memoir pack of Ephemera. Underneath the shelf is another tiny book complete with bookmark, a mini clip, crumpled ephemera pieces and a pen nib.
I completed this section with the Perfection label, cut from the Collage Strips...

... and a couple of Machinery Heads adhered to the back wall.

Recipe of idea-ology
Figure Stand, Memoir Ephemera, Pen Nib, Tiny Clip, Machinery Heads, Clippings Stickers, Collage Strips
BOTTOM RIGHT

Finally we come to the bottom right hand corner and this contains a matchbox, painted with Black Soot Distress Paint and complete with a label from the Palette Ephemera Pack and a tiny word tag, clipped to the box with a mini pin.

I finished the compartment with scrolls, rolled and made using offcuts of paper from the Backdrops Vol 4 pack and tied with twine.

Recipe of idea-ology
Palette Ephemera, Word Tag, Mini Pin, Backdrops Volume 4
So, that completes my box, inspired by a hero, my granddaddy and created for the Tim Holtz idea-ology 2023 live!
As always, thank you to Paula, Tim and Mario for EVERYTHING and for inviting me along for this part of the 2023 journey and thank you so much for taking the time to stop by today ~ I hope you love this piece as much as I loved making it.
Recipe for project:
Tim Holtz Idea-ology:
Figure Stand,
Large Word Plaques,
Backdrops Volume 4,
Snapshots Vol.2,
Mini Hardware Knobs and Handle,
Divided Vignette Box,
Vignette Boxes,
Tiny Lights,
Corked Vials,
Tiny corked Vials,
Factory Tags, Ruler Piece,
Hardware Heads,
Laboratory,
Mummy Cloth,
Date Dial,
Memoir Ephemera,
Pen Nib,
Tiny Clip,
Machinery Heads,
Clippings Stickers,
Collage Strips,
Matchboxes,
Palette Ephemera,
Word Tag,
Mini PinDistress Paint: Barn Door, Salvaged Patina,
Black Soot, Rusty Hinge, Antiqued Bronze, Ground Espresso and Vintage Photo, Crackling Campfire, Speckled Egg Twine and chain from my stash