Hello friends...
Hope you've all had a good weekend and for those who love Halloween, hope you're ready for some spooktacular fun tomorrow...
As always, the start of a new week brings a brand new Simon Says Stamp Monday Challenge and this week our theme is called "Thinking Of You". There are so many ways you can interpret this theme, whether it's to share the love, show you care or just that you're thinking of someone at Christmas...so, with all these ideas, we hope you'll come and join us and have some fun!
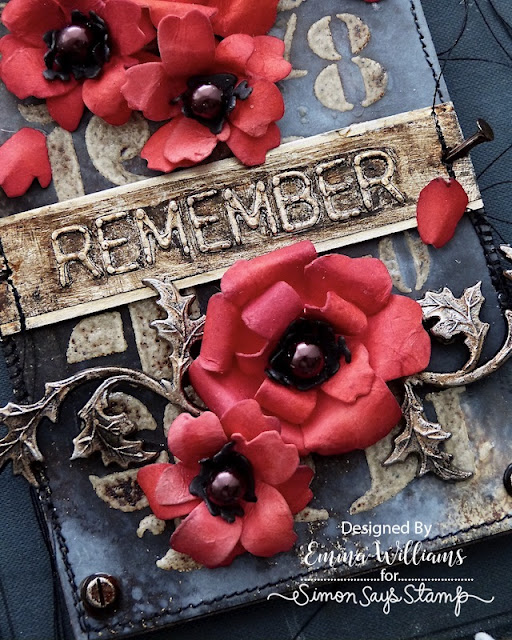
For my project, I created a tag for Remembrance Day, a piece to remember and honour those who have bravely fought for our countries, for the lives that have been lost and for those who are still fighting for peace. We will never forget....
So let's get started, it's time to show you how I created my tag....
TAG BACKGROUND
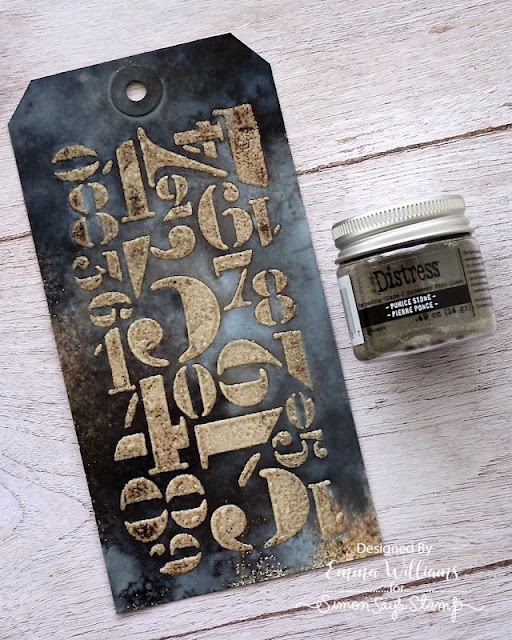
The background for this tag is to symbolise the fact that these people are remembered 365 days of the year, which is why I used numbers.
Taking my size 8 tag, I placed the Numeric Mini Layering Stencil from Set 7 over the top and then applied a layer of Translucent Grit Paste through the design. Remove the stencil and working quickly, sprinkle Pumice Stone Distress Glaze over the paste and then set to one side to dry.
Once the paste has set, then use a heat tool to gently melt the glaze to create the enamelled effect to the stencil work, moving the heat gun around and not concentrating on one area too long as this will cause bubbling.
Now to add the background colour and for this I used a combination of the following:
Distress Stain Sprays: Black Soot, Pumice Stone, Speckled Egg
Oxide Spray: Speckled Egg
Mist water to blend the colours and then either leave to air dry or gently dry with a heat tool. Sometimes it's really hard to cover up these backgrounds but, you can always make more....
After inking the edges with Black Soot Distress Ink, I machine stitched a border around the outside and then mounted the tag onto my Etcetera Tag using Matte Collage Medium.
Now we can move onto the poppies and quote plaque...
PLAQUE
To create the plaque, I used the Sizzix Label Alphanumeric Die Set by Tim Holtz and metallic kraft card. I cut the word REMEMBER twice from silver metallic card, then layered the letters over one another to form a double thickness. I then attached each letter to a strip of gold metallic kraft card.
Using Black Soot Distress Paint, apply the paint over the entire plaque, allow for the paint to become slightly tacky, not dry and then wipe away the excess. Take a second colour of Distress Paint, Ground Espresso and repeat the process. Finally to accentuate the lettering, apply a small amount of Gilded Foundry Wax over the top of the lettering and using a very gentle setting heat set the wax.
I matted the plaque onto a further strip of gold metallic card and once I'd machine stitched down either side, I mounted the plaque onto my tag using foam pads.
To complete the plaque, I hammered two Tack Nails into each side and altered them with a little Distress Paint in the same colours as I used on the plaque itself.
POPPIES
Now to make those poppies using the Sizzix Modern Floristry die set from Tim.
I began by colouring some Heavystock Card with Barn Door, Crackling Campfire and Candied Apple Distress Spray Stain. Once happy with the blend, I heat dried the card and then used two of the dies to make two sizes of poppies and the layers.
Each poppy has a double layer and if you take a look at the packaging itself, I used two of the dies that are shown as red flowers on the front and cut enough pieces to form 6 flowers.
You will need 3 x large flowers and 9 smaller flowers
With the die cut pieces on my glass mat, I then spritzed the backs of each die cut with water and scrunched the card to break down the fibres of the card itself before I opened them out again and shaped the petals. Ink the edges of each die cut with Lumberjack Plaid and Walnut Stain Distress Ink.
Place the smaller die cuts inside the larger ones to create three large poppies and then layer the remaining flowers to make the smaller poppies.
Die cut two centres from black cardstock for each poppy using the larger of the dies and then use a ball tool to shape them before layering them inside each flower.
In the centres, I added a small vintage pearl that I had in my stash but you can use baubles and colour them with alcohol inks.
ARRANGING THE POPPIES AND EMBELLISHMENTS
Arrange four poppies onto the top section of the tag.
The remaining two poppies are arranged with the metal branches that I took from the idea-ology Spiders and Branches Adornments set. I LOVE these and would be so happy to have just a pack of these for everyday embellishments.
To add some colour to the embellishments, I used a combination of Foundry Waxes and Mushroom Alcohol Ink. Firstly, I apply a layer of Statue Foundry Wax to the surface of the metal, heat set and then apply a layer of Sterling Foundry Wax over the top but this time, not a solid layer, you still want some of the colour from the previous wax to show underneath. Heat set again and then drip Mushroom Alcohol Ink over the top, dabbing away any excess puddles with a paper towel.
Attach the finished metal pieces with the poppies in a swathe across the bottom section of the tag.
FINISHING DETAILS
We're nearly there and all that's left is the finishing details.
I attached four Hardware Heads to each corner, and painted the metal with a combination of Black Soot and Tarnished Brass Distress Paint.
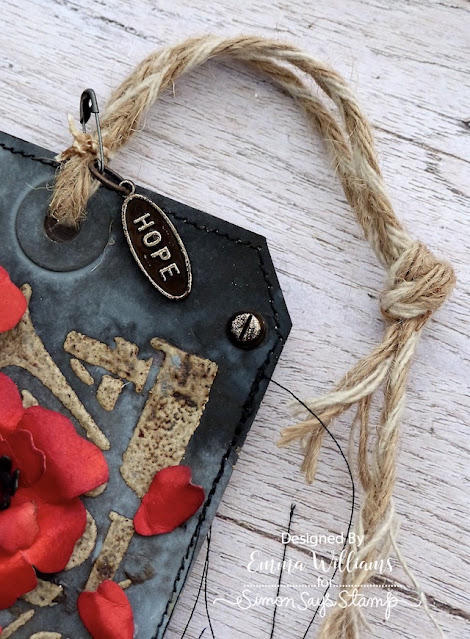
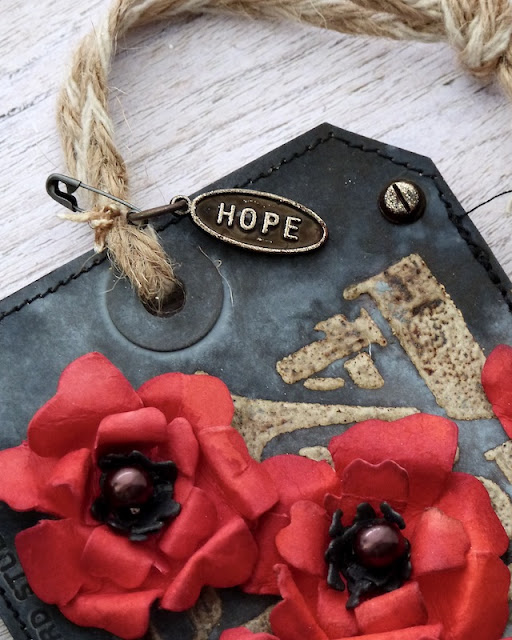
I then attached rope through the hole at the top of the tag...
...and pinned a Word Tag, "HOPE", altered with Distress Paints and Foundry Wax, using exactly the same technique as I used to alter the word plaque.
Down the left hand side of the tag, I added a Remnant Rub from the Labeled set, "Identification Card Stub".
FALLING PETALS
Finally, I added the falling petals. For these, I once again used the smaller flower die and cut one more petal. I then snipped into the flower to cut individual petals which I shaped before attaching them to my tag.
So, that completes my make for today and I hope you've loved the techniques of how I made it...
As always, if you make anything, or if you've been inspired by anything that you've seen here on my blog ~ then please, let me know by tagging me on social media or leaving a comment here and I will be right over to take a look!
Don't forget that every week, one lucky random participant has the chance to win a $25 gift voucher from Simon Says Stamp and you can join in up to 5 times, which means you could have 5 chances to win. You have until next Monday at 8am Ohio time. 1pm UK time, 2 pm CET to join in and good luck....
Recipe for project:


Beautiful 👏👏
ReplyDeleteWhat a stunning tribute tag! Well done.
ReplyDeleteThis tag is wonderfully amazing!! So glad I live in a country without war.
ReplyDeleteLove this tag. Simply love it!! So much detail, care and love went into it. The occasion of remembrance day is perfect for the theme. My grandpa, a WWI vet, sold poppies as a fundraiser for the American Legion. All poppies remind me of him, our vets and our fallen heroes. Thank you for sharing.
ReplyDelete