Hello friends...
It's time for the brand new Simon Says Stamp Monday Challenge to begin and this week we are encouraging you to get out your paints, or pencils and do some water-colouring with our fun challenge theme. So whether you choose to create your own piece of artwork or use a stamp and watercolour between the lines, then we hope you'll join us and play along.
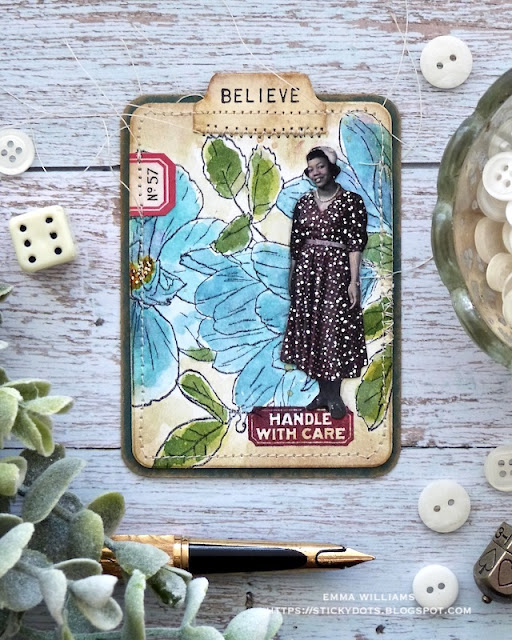
For my make, I created some mini motivational pocket cards that are packed full of encouragement and positivity. I think everybody has 'one of those moments' when they need some encouragement and I thought these would be perfect to send out to those that are struggling right now, just to say hello and let them know I'm thinking of them.
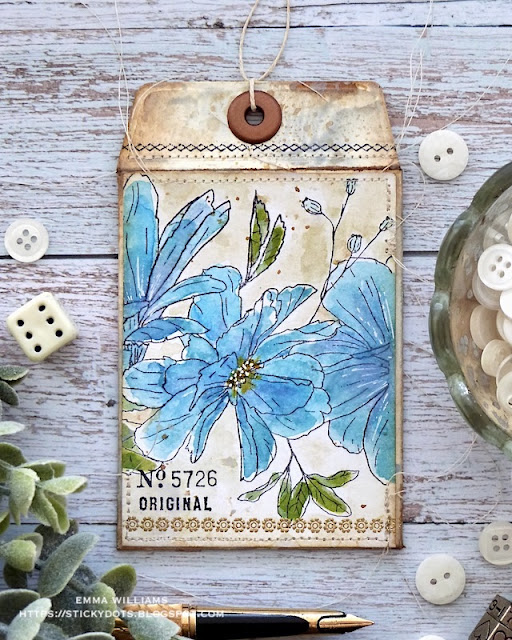
I made two sets to begin with and on each of these pieces, I used the Stampers Anonymous Floral Trim stamp set by Tim Holtz and watercolored the backgrounds with Distress Inks and Distress Watercolour Pencils.
MAKING THE BASE ENVELOPES
I began by die cutting my two pocket envelopes from Mixed Media Heavystock card, using the Sizzix Collector Die Set by Tim.
I spritzed each envelope with a combination of Speckled Egg, Old Paper and Frayed Burlap and once dry, I inked along every edge with Walnut Stain Distress Ink, before folding along the scorelines to assemble the envelope. I adhered the joins with red line double sided tape.
On the envelope flap, I machine stitched a line across the flap, then added a stamped decorative trim using one of the border stamps from the Ornate Trims stamp set. To complete the envelope I punched a hole using my Crop-A-Dile before adding and securing the eyelet into position and threading some twine through. The twine is cut long enough to act as a wrap around the envelope to keep it closed.
The envelopes are now ready to decorate.
WATERCOLOURED PANELS
For the watercolored panels, I chose to use a very loose style of watercolouring, not too precise, just going with the sketchy look of the stamps themselves. I began by cutting two pieces of watercolour cardstock, slightly larger than the stamp I was using from the Floral Trim set and after stamping the whole of the stamp outline onto my panels using Black Soot Archival Ink, I coloured the image using the following colours by 'squidging' Distress Inks onto my glass mat. I used a waterbrush to apply Broken China for the flowers, and Mustard Seed for their centres and for the leaves, Bundled Sage, Mowed Lawn and Rustic Wilderness.
I always heat dry the colour between applications and once I was happy with the blends, I took my Distress Pencils to add shading. I used Villainous Potion, Black Soot, Salty Ocean and Faded Jeans to add the depth and shading I needed, all applied by touching the nib of the pencil with my waterbrush and laying down each individual colour.
I dried each of the panels thoroughly before adding the shading to the background. For this I used Old Paper and Frayed Burlap Distress Ink, again smooshed onto my craft mat and picking up the ink with a waterbrush to apply direct to paper, filling in all those little areas between the petals and leaves. After flicking some of the darker distress ink across my panels, I dried both panels.
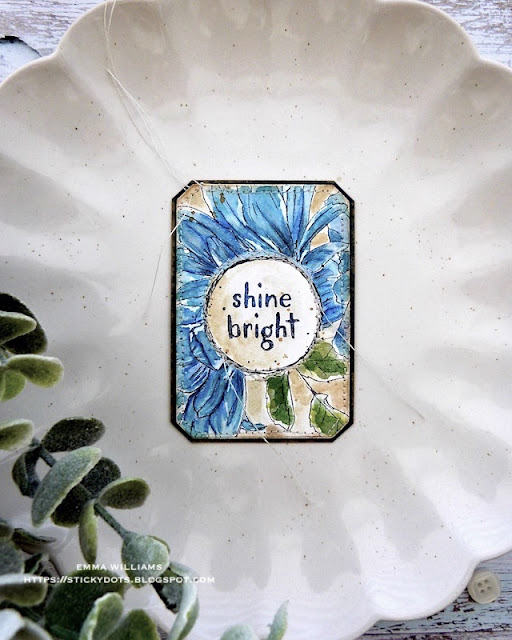
With my Floral Trim coloured, I took one of the panels and cut the image down to make two mats that are slightly smaller than the envelopes from one panel.
We're now ready to bring each set to life....
SET 1
Taking one cut panel and one assembled die cut envelope, I machine stitched a border around the panel and then added some more details, including stamping the word 'Perfection" from the Eccentric stamp set in the bottom left hand corner and added a remnant rub in the top left hand corner.
I mounted the finished panel onto the front to complete the envelope, ready for the card to be placed inside.
Moving onto the next stage, and this is where we use the second stamped image and cut this panel into two pieces using the Mini Card die, with the rounded edges, from the Collector Set.
As always, if you make anything, or if you've been inspired by anything that you've seen here on my blog ~ then please, let me know by tagging me on social media or leaving a comment here and I will be right over to take a look!
Don't forget that every week, one lucky random participant has the chance to win a $25 gift voucher from Simon Says Stamp and you can join in up to 5 times, which means you could have 5 chances to win. You have until next Monday at 8am Ohio time. 1pm UK time, 2 pm CET to join in and good luck....
Recipe for project:


These are amazing ( as usual ). That blue is sooooo pretty !!
ReplyDelete