Hello friends...
I'm sure by now, you've all seen the amazing new Halloween idea-ology release from Tim Holtz, watched the LIVE and if you're like me, the ideas will be sparking inside your head ~ there is that much goodness in this release, it's incredible and remember some of these items, they aren't just for Halloween, they can be used every day, so now is the time to stock up as these won't be hanging around for too long.
When I first received my box, I instantly began work on my Arched Shrine ~ the story of Vanishing Visitors, which is all about a mysterious lady and her child, but whilst I was working on that make, I also knew that I wanted to make a portfolio for my second project which would showcase as many of the products as possible! With all this going on in my head, I laid out all the products in front of me to see if my theme could come together and it did, very quickly ~ I wanted the portfolio to be a continuation of the lady in the shrine, the bone collector, but this time she was older, she had a history and this was the story of who those vanishing visitors were!
So today, I'm going to walk you through the pages of my portfolio and I hope you enjoy the story....
The accordion folio itself comes in two parts, the gusseted cover and the concertina folio and I used both for this make.
To strengthen the folder, I applied Design Trim Tape on the front cover, and the inside.
I also added some of those gorgeous pearl droplets to the spine, and a clippings sticker, 'calls answered day or night'.
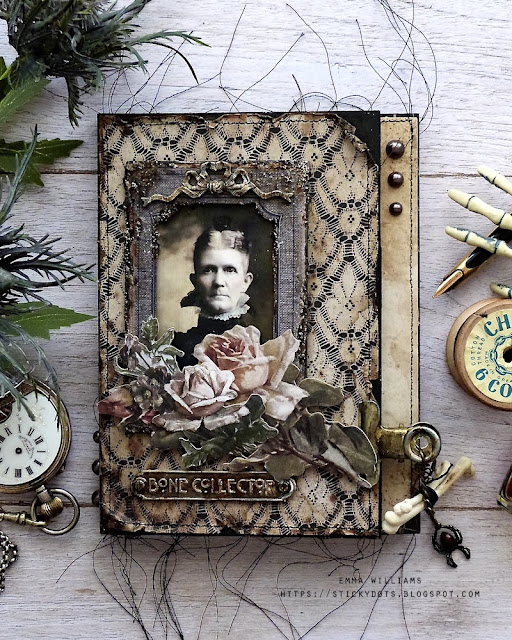
The cover features the 'bone collector', a photo from the Halloween Paper Dolls, that I colour tinted and placed in a frame from the Baseboards pack, that has added Grit Paste and a metal ribbon from the Ribbons and Bows Adornments pack.
The frame is layered over the gorgeous lace paper from the Halloween Backdrops, (I need a whole pack of this paper, I just love it so much) and I added the floral ephemera across the bottom of the frame.
...before adding the word plaque, Bone Collector.
On the side of the cover, I used a hinge clip, altered with Foundry Wax and hung a spider from the Halloween Adornments, and some boneyard findings, tied together with cotton thread.
As you open the folder, the story unfolds...
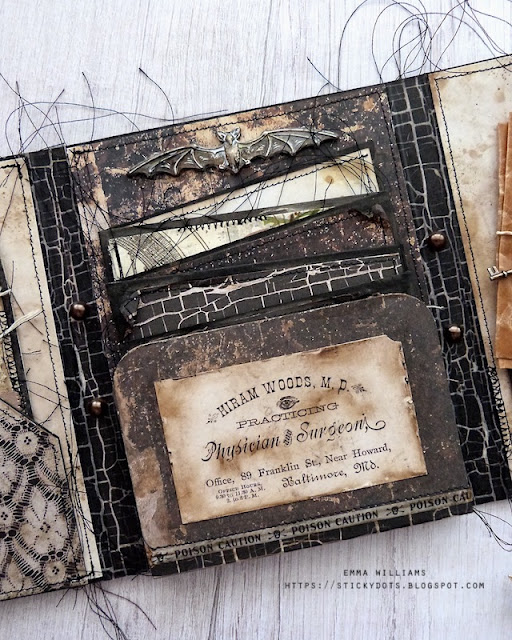
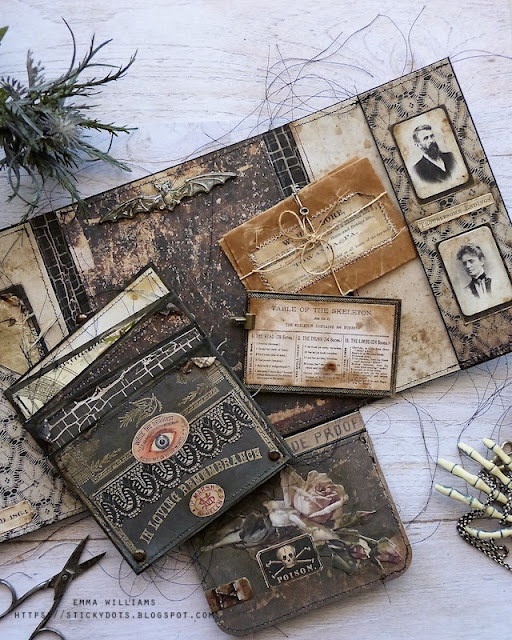
I covered the entire folder with Halloween Backdrops, added the bats and toxique from the ephemera pack and then created pockets by stitching down the flaps of the folder.
The pocket on the left, which is covered with backdrops, and has a
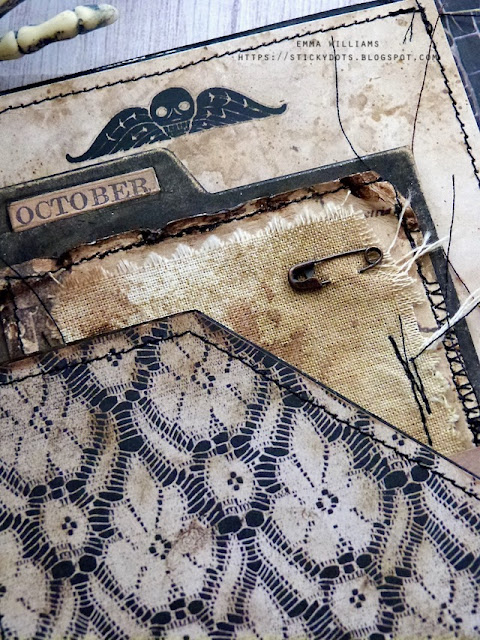
Numbers snippet in the bottom left, holds a calling card from the undertakers.
This is made using a File Card, covered with more of that gorgeous Backdrop paper, a layer of linen, dyed with Distress Spray Stains, and a stitched ephemera piece, clippings sticker and mini pin to complete it.
The it slips into the pocket, that has a remnant rub applied.
On the opposite side of the folder, another pocket and more bits and pieces...
I used the
Postale Dies from Chapter 3 to create small glassine envelopes, tied up with string and complete with key, plus I added a business card.
The central section holds the concertina book, but nothing is left undecorated and I covered it with more paper from Backdrops, and added a bat embellishment from the Halloween Adornments pack.
The right hand pocket features more of the bone collector's vanishing visitors and these are from the Curiosities sticker book, and altered with inks for more of a vintage look.
As you fold down the front panel, you can see more collage layers, ephemera pieces, worn wallpaper strips and a tiny
type chip, cut in half ~ 'x marks the spot'.
Now we move onto the concertina book that sits inside the folder.
Each page tells a story of different members of the cast....
Let's turn the page, one by one...
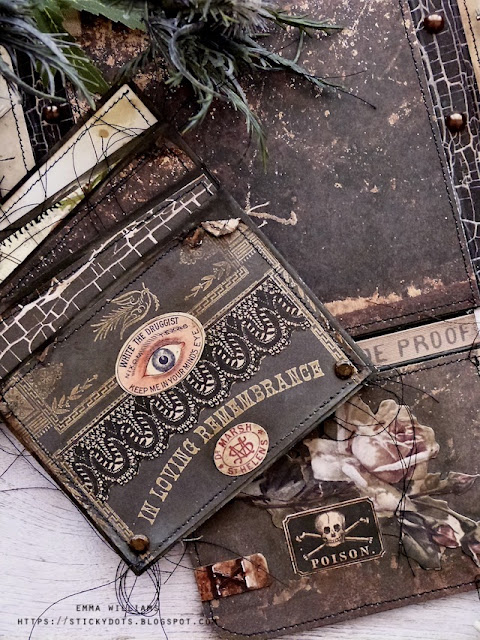
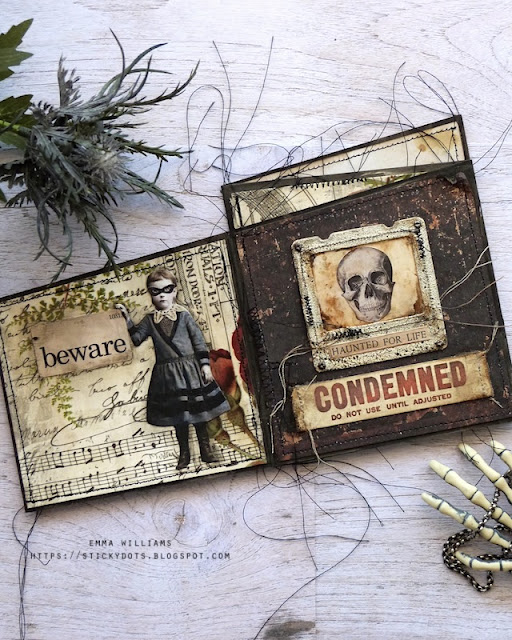
...a paper doll complete with tiny mask, holding tightly onto a beware ephemera flash card, and all set against some of that gorgeous Halloween Collage paper.
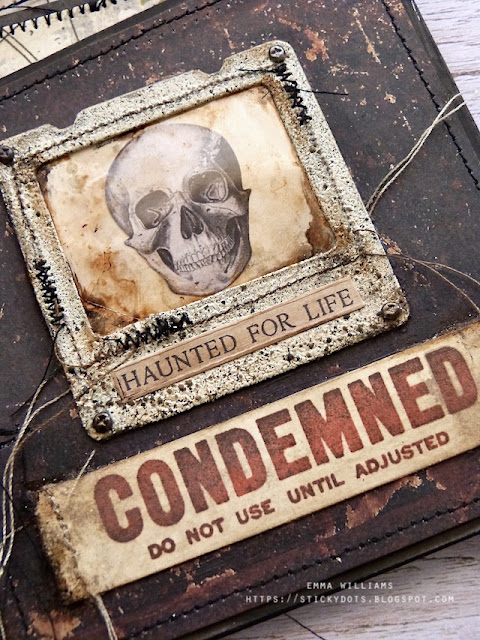
Next page...more of that collage paper, and a scene created with ephemera pieces and stickers from the Halloween Stickers book.
Flip the book over and we see another side....
We're nearly there....
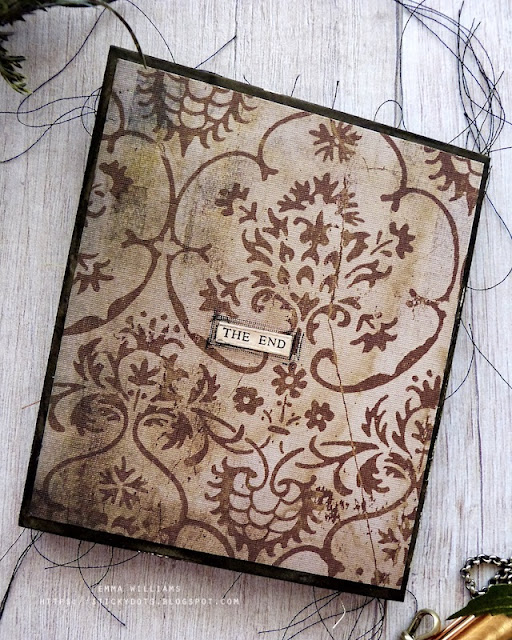
...and as with all good stories, THE END!
Thank you for taking the time to look through this haunting story...I hope my make fills you with inspiration and as always, I love seeing what you create inspired by anything you see on my blog. So, leave me a message, here, on Facebook or on Instagram and I'll pop over to take a look!
See you soon...Emma xx
ALL IDEA-OLOGY AND TIM HOLTZ PRODUCTS USED IN THIS MAKE ARE AVAILABLE FROM SIMON SAYS STAMP, INCLUDING:











Such a fabulous folio...so many details, true eye candy every filp and turn...love the walk through as well...guiding us through your "haunted house"...
ReplyDeleteEmma! WOW! Love every single detail of this project. So many wonderful things to look at. Another amazing folio.
ReplyDeleteLove all the beautiful detail!!
ReplyDeleteFantastic mini book♡♡
ReplyDeleteEmma thank you soooo much for taking the time to share "the story", your creativity, and all the wonderful photo's of your projects. I have never done spooky crafting before and Tim has the BEST DT ever, so I'm totally inspired. I have spent a fortune on all the halloween products and can't wait to get started!!
ReplyDeleteDo you have a Youtube channel?
ReplyDeleteAt the moment, I don’t have a YouTube channel but never say never…I am hoping to set one up soon, so keep checking back!
DeleteSaw this on PINTEREST and had to take a closer look...Wonderfully spooky Halloween project!! Very impressive! Your machine stitching really adds to the look of this project. I'm new to stitching on cardstock...Halloween is a great place to start. Thank you for all the great photos you've posted...much appreciated!!
ReplyDelete