Hello friends...
How is everyone today? I hope you all had a great weekend and ready for the week ahead! As always on a Monday, it's time for the brand new Simon Says Stamp Monday Challenge and this week, as valentine's Day fast approaches, we are celebrating the fact that LOVE IS IN THE AIR with our fun challenge theme and the DT are also showcasing our very own Simon products within their makes.
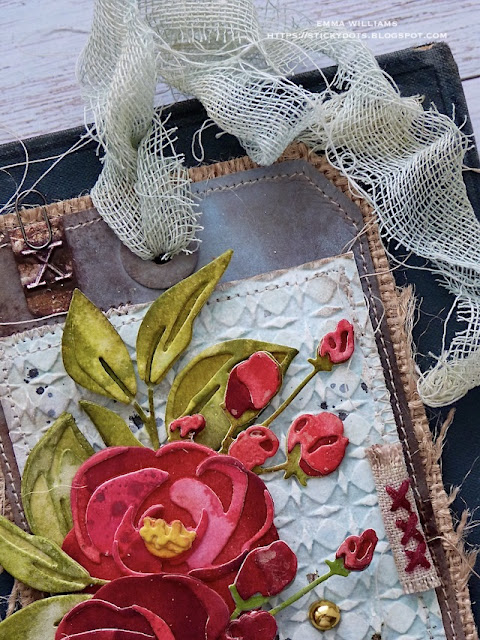
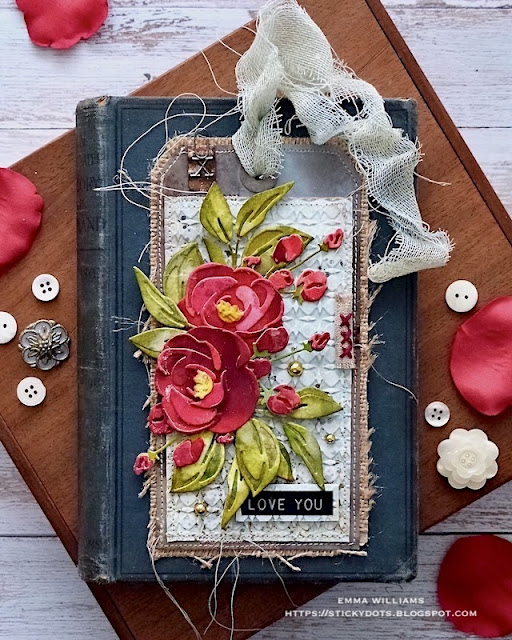
For my project, I wanted to create something that really says it all with a simple, "I love you", and I combined a SSS embossing folder, with some Tim Holtz products, which included the Sizzix Bloom Colorize Thinlits Die to make an abundance of red roses and buds that cascade down the project.
To begin with I made my background and as mentioned, I used the SSS Circle Rings Embossing Folder to emboss a piece of card Mixed Media Heavystock card that I had spritzed with Speckled Egg, Antique Linen and a touch of Frayed Burlap Distress Spray Stains. I allowed the colours to blend together before I then heat dried the card surface, placed it in the folder and then ran it through my machine.
I will never tire of how you can get such a wonderful deep impression with these folders and how you can create instant texture for a project.
I cut the card panel so it would fit on a Size 8 tag and then inked the edges of the card panel, before machine stitching a border around the outside.
Setting the panel to one side, I inked my tag and again using Distress Spray Stains, but this time combined with Oxide Sprays, I added the colour to my tag.
I used Ground Espresso, Antique Linen, Speckled Egg Sprays and Speckled Egg Oxide Sprays blended with water to create the background colour.
After heat drying the tag, I cut a panel of DCWV burlap paper, that was slightly larger in size and would give me a border and machine stitched the tag to the burlap.
With the tag in place, I frayed the edges of the burlap and then attached the embossed panel to the tag itself using Matte Collage Medium.
Now for the cascading flowers and foliage....
...and for these I used cardstock that I spritzed with Aged Mahogany, Picked Raspberry and Barn Door Distress Spray Stains, and for the centres I chose Mustard Seed and Wild Honey. For the foliage, I used Peeled Paint, Shabby Shutters and Rustic Wilderness. Once the card was dry, I then cut the various pieces using the Bloom Colorize Die Set and assembled them to form the glorious blooms.
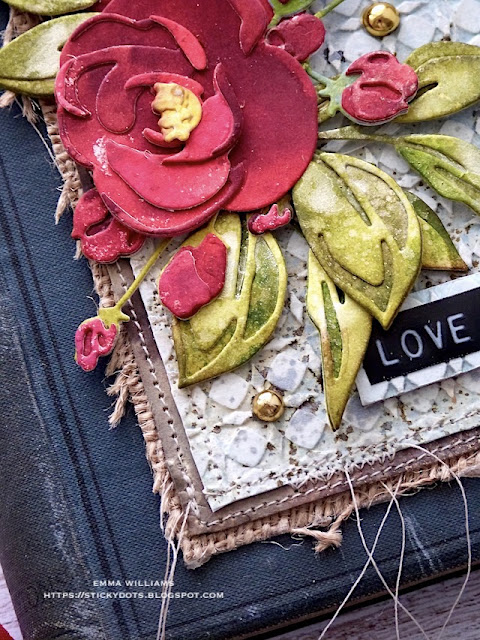
After inking the edges of all my die cuts with Walnut Stain Distress Ink, I attached the blooms, the buds and the foliage down the left hand side of my tag. You can see the various heights that I've created on this tag and to do this, I added some foam pads to the back of some of the die cuts, to create different dimensions.
I then needed my sentiment and this is one of Tim's Sentiment Label stickers and simply attached this to an offcut of the embossed background which I had adhered to a piece of mount board for stability.
I then adhered the mounted sentiment in the bottom right hand corner using foam pads for added height.
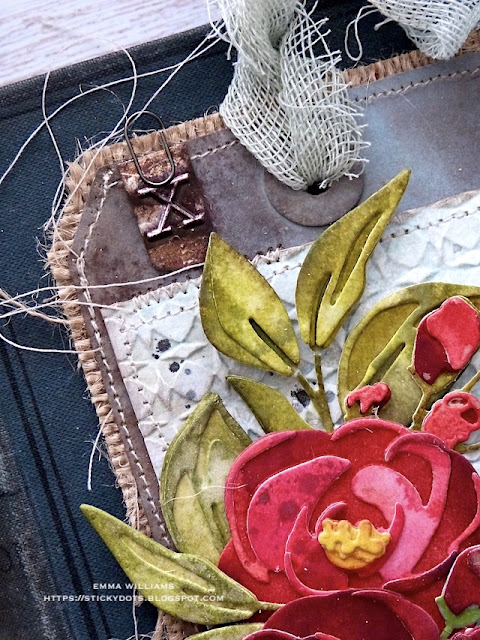
In the top left corner, I added a letter 'x' Type Chip, which I cut in half and attached to my tag with Collage Medium, adding the mini clip to complete this section.
I also took a Stitched Scrap, the one that has 3 cross stitch on, but I thought they worked well as kisses, and rolled this up, before I attached it to the right hand side of the tag.
To complete the tag, I attached some gold Metallic Droplets around the floral arrangment...
...and finished with a swathe of Mummy Cloth, dyed with a combination of Speckled Egg and Antique Linen Distress Spray Stains and once the cloth was dry, I threaded it through the hole in the top of the tag.
So, that completes my make for this week and hope you love what I've made and enjoyed the techniques I've used to bring it to life!
As always, if you make anything, or if you've been inspired by anything that you've seen here on my blog ~ then please, let me know by tagging me on social media or leaving a comment here and I will be right over to take a look!
Don't forget that every week, one lucky random participant has the chance to win a $25 gift voucher from Simon Says Stamp and you can join in up to 5 times, which means you could have 5 chances to win. You have until next Monday at 8am Ohio time. 1pm UK time, 2 pm CET to join in and good luck....
Recipe for project:


Beautiful roses, I love the color you achieved on them. The tag is gorgeous!
ReplyDeleteI love this! It is fabulous and thanks to your detailed post and the fact I have all the goodies needed to play I am going to try to replicate it as best I can.
ReplyDeleteWhat a stunning tag! Your work is always so gorgeously inspiring! Sorry that I do not comment often on your blog, but I always stop by to see your wonderful work...
ReplyDeleteHugs
Samra
Paper Talk with Samra
this is just pure beauty!! The color of the flowers and the leaves are fantastic. You are inspiring!
ReplyDeleteI love the Chinese Lanterns....in fact, all your designs are wonderful and make me want to leave my computer and get back to my craft room!!!!!!
ReplyDeleteAlways gorgeous. I was wondering where you used the collage medium? Perhaps it wasn’t an embossing folder that you used. 😬stencil? Thanks so much! Deedee
ReplyDeleteHi Deedee,
DeleteThanks so much for your visit to my blog and to answer your question, I always use Collage Medium to attach anything that I stick onto a make, and there are a couple of mentions of where I used the medium within the text. I always use Collage Medium to attach anything that I need adhered directly onto a project! Hope that helps and if you need to ask any other questions, please don’t hesitate…😊