
Happy Monday friends and welcome to the first week of Simon Says Stamp Monday Challenges in October!
This week our theme is called STITCH IT and the DT are showcasing the products of AALL & CREATE within their projects. If you'd like to join us and play along, then we would love to see how you interpret the challenge theme, whether you choose to stitch onto cards, journal pages, make books or actually sew something using material, the choices are endless and it's going to be a fun challenge.
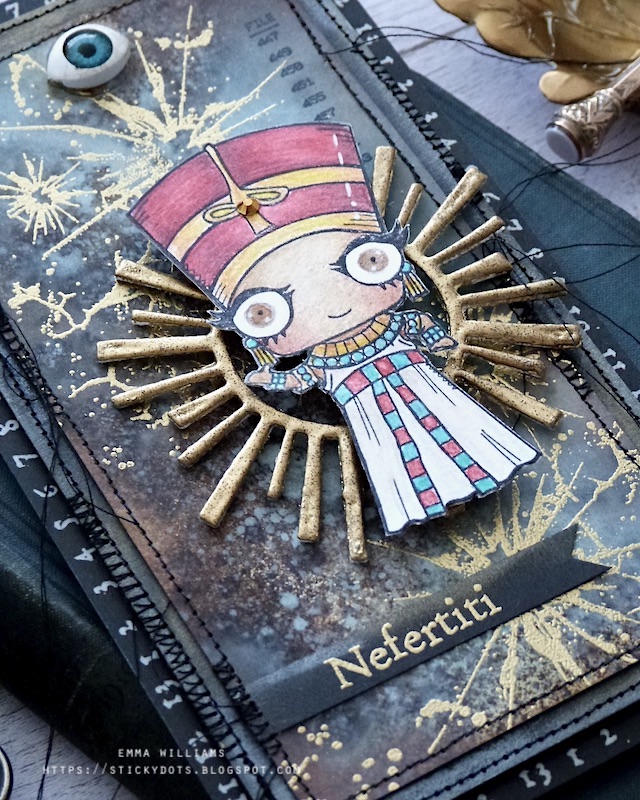
For my project, I created a card which was inspired by my love of Ancient Egypt, something I was fascinated by at school and to this day, I still study and love including one particular person ~ the Queen of Egypt, Nefertiti, wife of Pharaoh Akhenaten and worshipper of the sun disc.
So with this in mind, and using two stamps from AALL & CREATE, which I combined with a few products from Tim Holtz and Sizzix, I started to make this card come to life.


TAG BACKGROUND
I used a size 8 Mixed Media Heavystock Tag and started by adding the colour using Distress Spray Stains and Oxide Sprays.
I misted water onto my tag, placed it in a splatter box and spritzed the following colours onto the surface:
DISTRESS SPRAY STAINS: Ground Espresso, Speckled Egg, Tumbled Glass, Frayed Burlap
OXIDE SPRAYS: Speckled Egg
Once I was happy with the inked background, I heat dried the tag thoroughly, inked the edges with Walnut Stain Distress Ink and then moved onto the stamping.
I wiped the surface with an anti static bag before I used the Shattering stamp, inked with Versamark Ink to stamp onto the tag. I re-inked the stamp and then twisted and moved the stamp around to form the design over the entire tag.
I then sprinkled gold embossing powder over the top of the stamped areas, tapped away the excess and heat embossed the powder until molten.

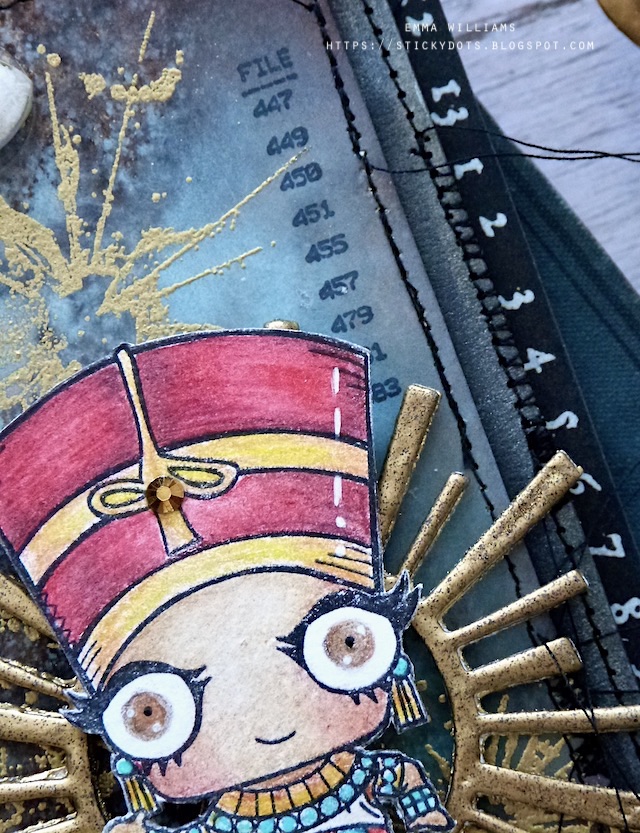
In the top right hand corner, I used the file numbers from Tim's Mini Glitch stamp set and stamped these in Black Soot Archival Ink.
To complete the tag, I machine stitched a border around the edge, leaving loose thread hanging all around the edge.
BACKGROUND LAYERS
I took a panel of black card that I edged with Tim Holtz Halloween Distress Crayons, Iron Gate and Decayed, which created this dusty, vintage look to the surface. I machine stitched this panel and then used foam pads to attach it onto my background of card, which has a border of Tim's Design Tape running around the edge. This numerical tape is from the Halloween set. This forms the matting and layering behind the tag, but don't attach that tag just yet....

Now for the star of this show...
NEFERTITI
I stamped the image onto watercolour card, using Black Soot Archival Ink and then coloured it with the amazing new Watercolour Distress Pencils. If you haven't tried these yet, then you must as they are beautiful to use and have so many uses other than just water-colouring.
I used a water brush and built up my colours, adding shading with the pencils to create light and dark. I then added some white pen work, before fussy cutting around the outline of the image.

I added a small gem in the centre of the headdress and placed this to one side whilst I created the sun that will will sit behind her.

SUN
For this I used the sun from Tim Holtz's Circle Play die by Sizzix. I cut the sun three times from Mixed Media Heavystock card before layering them, and sticking them together to create one substantial die cut. I then applied the embossing dabber to the surface and sprinkled with gold embossing powder. I used Seth Apter's Weathered Gold by Wow which I bought from SSS but unfortunately isn't available any more but you can use any gold powder in your stash.
I repeated this process three times to create an enamelled finish to the sun die cut...

...and then placed the sun behind Nefertiti.

Using cleverly hidden foam pads to add dimension to this piece, I attached the sun and Nefertiti to my tag.
I then stamped the name tag onto black card, embossing it with gold embossing powder and cut it into a banner shape, with an inverted 'v' at one end before stitching it onto my tag, in the bottom left hand corner.

Now I can attach the tag to the matted background layers and we're nearly there...
All that's left is to attach my "eye of Horus" to the top of my tag, placing it over the reinforcer hole. I used a Creepy Eye, that I inked with Mushroom Alcohol Ink to knock back the whiteness and placed it onto my tag with Matte Collage Medium.

So that's my card finished and I hope you love this as much I loved making it...it was a fun project to work on and really did appeal to my love of Ancient Egypt.

As always, if you make anything, or if you've been inspired by anything that you've seen here on my blog ~ then please, let me know by tagging me on social media or leaving a comment here and I will be right over to take a look and if sometimes I miss it ~ just keep nudging me!
Don't forget that every week, one lucky random participant has the chance to win a $25 gift voucher from Simon Says Stamp and you can join in up to 5 times, which means you could have 5 chances to win. You have until next Monday at 8am Ohio time. 1pm UK time, 2 pm CET to join in and good luck....


Recipe for project:


No comments:
Post a Comment
Thank you for all your comments and messages, they are all appreciated and I hope you'll come back and visit again soon...
Emma ~xx